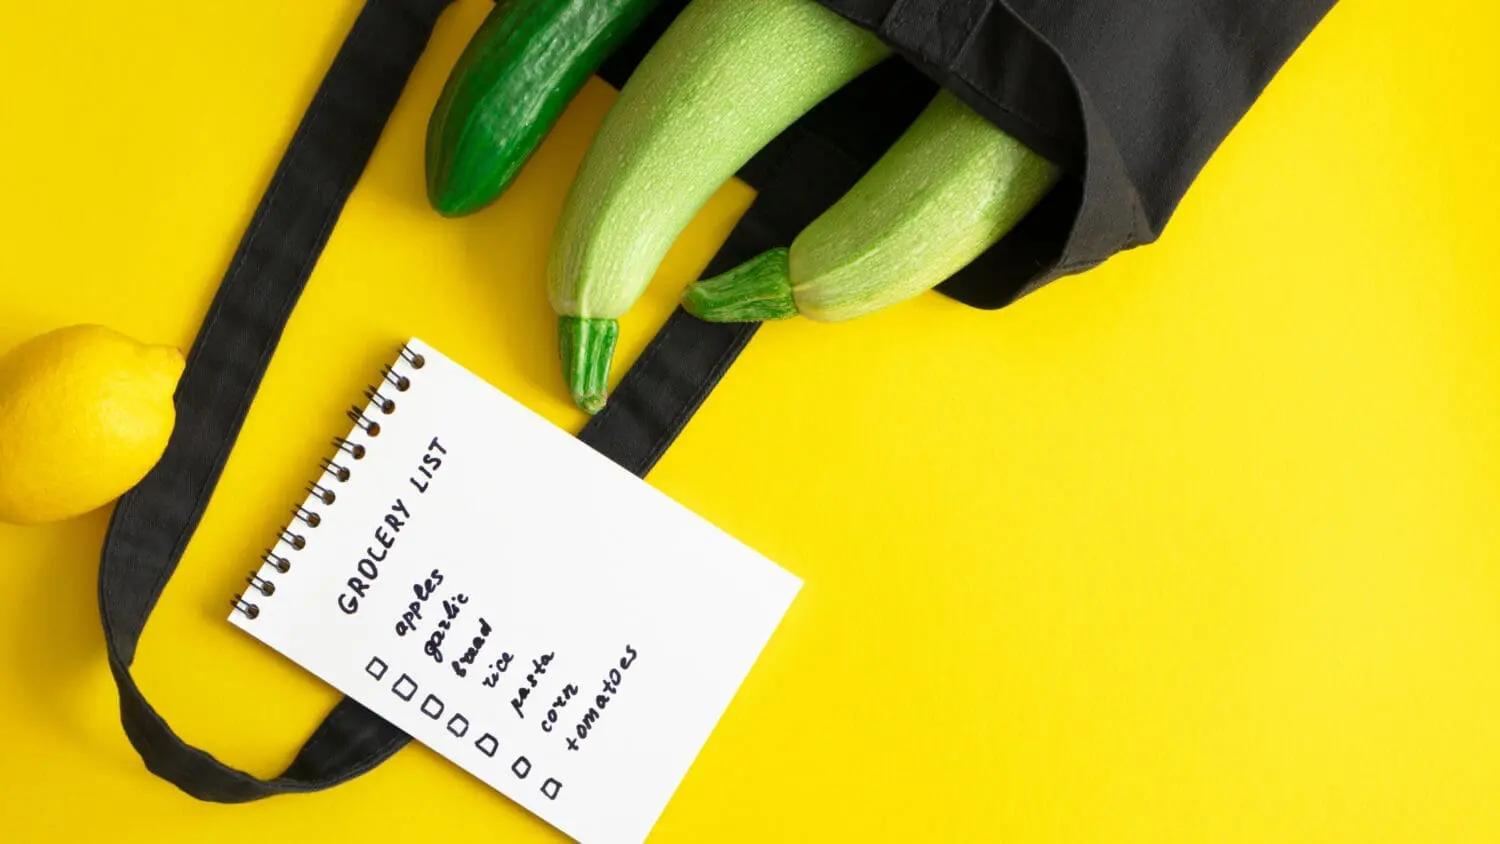
Automate your Meal Planning Grocery List with Trello
Meal planning is good, but it can be a lot of work. Here’s a way to speed up your meal planning and automate your grocery list: Trello! Trello is a free tool which allows you to make lists and kanban boards, but it also has automation tools. In this article, I will show you how to automate your grocery list and speed up your meal planning.
This meal planning automation allows you to add your recipes to a Trello board, and then creates a list of grocery items when you add a recipe card to your weekly meal plan. This makes it easy to see what you’ll need to shop for, and it’s simple to choose from a list of favorite recipes which you’d like to eat for the week.
Here’s how to set up your Trello boards and automations.
Step 1: Get a Trello account
Ok, that’s easy. Just go to trello.com and sign up. Do note that automations can only be set up on the desktop version of trello.com, so you’ll need a laptop or desktop computer.
Step 2: Set up your board
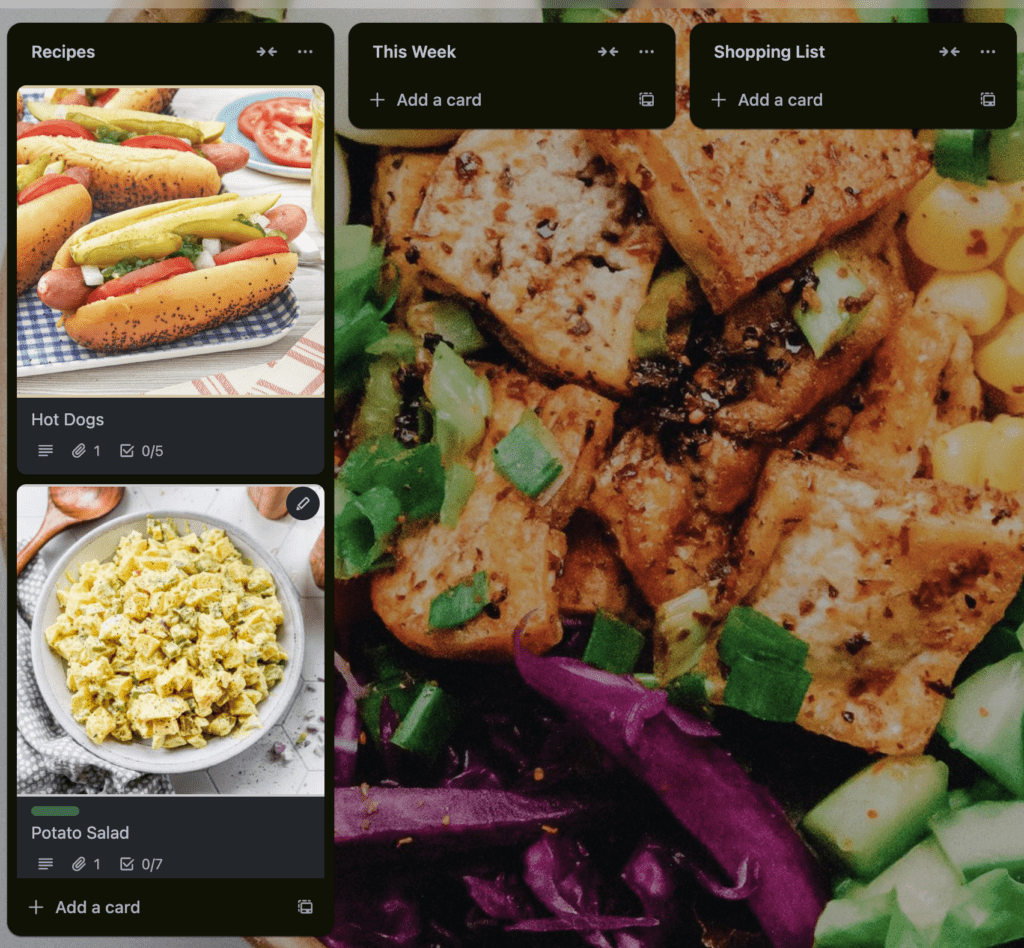
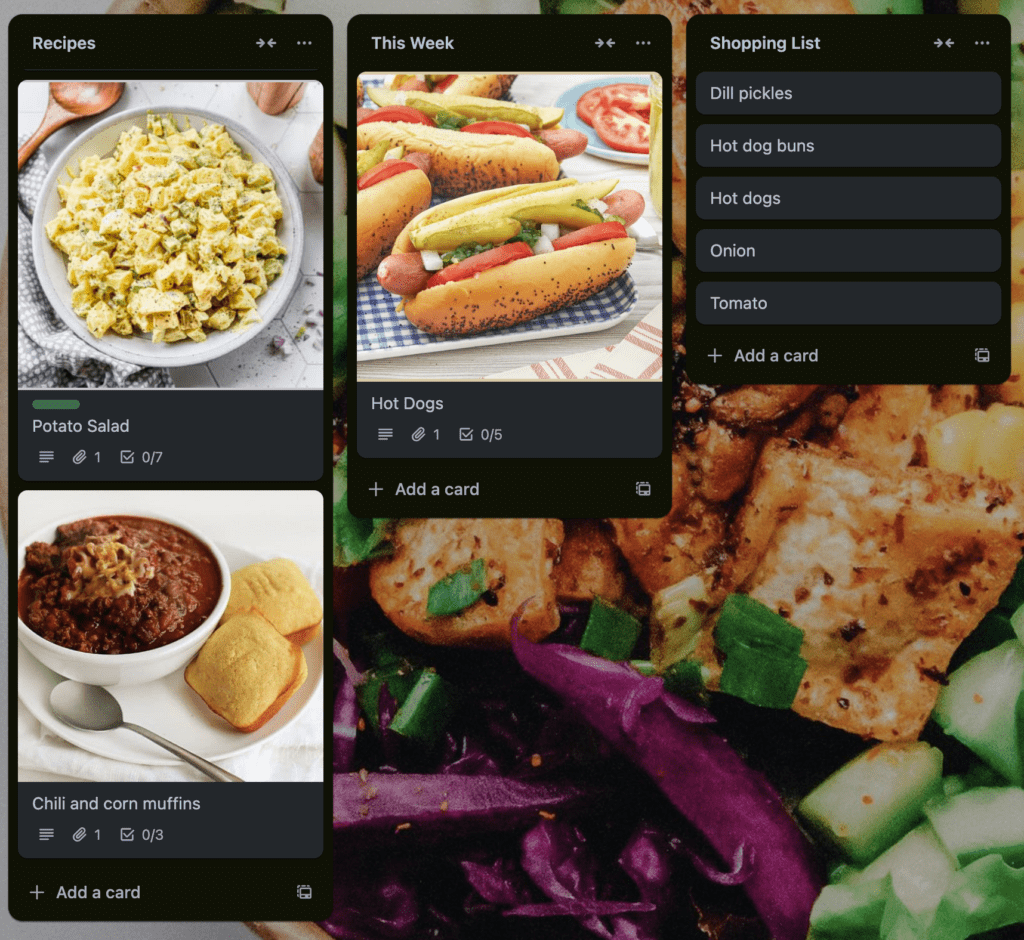
Set up a board called Meal Planning.
Add 3 lists to your board with these titles:
- Recipes
- This Week
- Shopping List
The way this works is you will add any recipes you want to use in your meal planning to the Recipes list. You’ll build your weekly meal plan in the This Week list, and the Shopping List list will automatically populate the ingredients listed on the Recipes cards (provided they are set up correctly). At the end of each week you’ll use an automation (which we’ll set up shortly) to clear out your This Week list and start again.
If this sounds complicated, that’s because it kind of is. It took me hours to figure all of this out, but once it’s set up it’s super handy.
Step 3: Set up your Recipes automation
In this step, you’ll set up the automation to create a new blank recipe card. The recipe cards must be set up in a certain way, so it’s useful to have a quick way to create a new one when you need it.
The Recipes cards have a few important parts: the description, the Ingredients checklist, and the cover image.
The description is where you’ll put a description, as well as instructions for the recipe. This is a simple text field.
The Ingredients checklist is a checklist that is added to the card, below the description. It must be named Ingredients in order for the automation to work as I’ve set it up. Each ingredient must be a separate checklist item, but you can copy a list from another tool (like Notes or Microsoft Word or even a website) and paste it into the checklist and usually it will create all the individual checklist items for you.
The cover image is the picture that shows up at the top of the card. It’s not required, but I like to have a visual of what each dish looks like. It is usually illegal to take random images off Google and use them (most are copyrighted), so it’s better to take your own photos or be sure to use a photo download site that has images that are explicitly free to use.
Now, let’s set up a button that will allow you to easily create a new Recipes card.
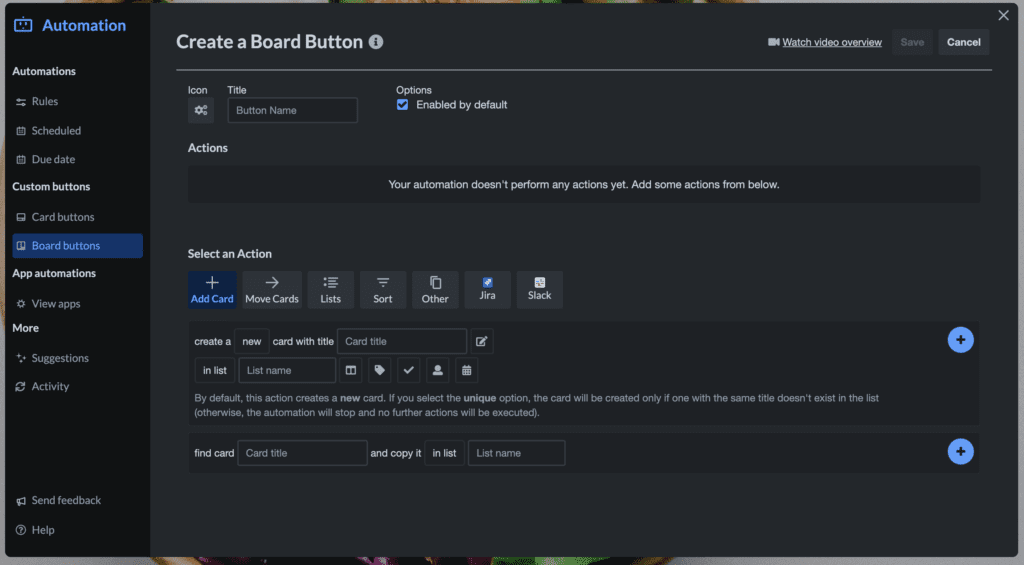
To set up the automation:
- At the top of your board, choose Automation
- Choose Buttons from the list of options
- Make sure you have selected ‘Board Buttons’ in the automation screen
- Click Create Button
- Name your button ‘New Recipe’
- Select the Add Card action
- Set up the automation to create a new card with title New Recipe in list Recipes and add the Ingredients checklist to the card
- You’ll need to click the checklist icon at the end of the automation to add the checklist
- If you’d like, you can add a Sort action to sort the cards in Recipes by time in descending order. This will force the New Recipe card to appear at the top of the list.
- Click the blue plus to add the action
- Click the Save button to save the automation
- You should now see a button labeled ‘New Recipe’ at the top of your board
When you click this button at the top of your board, a new card should appear in the Recipes list!
Step 4: Add a few recipes
Fill in the recipe card with one of your favorite recipes. Be sure to add the ingredients you need as individual checklist items. I add ingredients as basic names (ie. green pepper, cheese, flour), but you could add them with the amount needed as well (ie. ½ of a green pepper, 2 cups of cheese, 1 cup of flour)
Add a couple of recipes so you will be able to test your shopping list automation in the next step.

Step 5: Set up your Shopping List automation
To automate adding items to your Shopping List, you will add 2 rules to the board that will tell Trello to add the items in the card checklist to the Shopping List list if the card is moved into the This Week list.
To add the first rule:
- click Automation and choose rules, or navigate to the Rules section of the Automation screen
- Add a new rule
- Set the rule trigger to be when a card is added to list This Week
- Click to the next step in the rule workflow
- Set the rule action to be convert all the items in checklist Ingredients into cards in Shopping List
- Save the rule
This rule tells Trello that every time you put a card into the This Week list, it should create cards with the names of the Ingredients checklist items in the Shopping List list.
To add the second rule:
- Add a new rule
- Set the rule trigger to be when a card is added to list This Week
- Click to the next step in the rule workflow
- Set the rule action to be for each card linked in the attachments, remove link {cardlink}
- Save the rule
This rule tells Trello to remove links to other cards for any cards added to This Week list. I forget exactly what this is for, but it is to avoid some recursion or conflict that occurs with the automation when you reset the board with the New Week automation (which we will set up soon)
Step 6: Test the Shopping List automation
Drag a few recipe cards into the This Week list and watch the Shopping List list fill up with all the ingredients you’ll need! To note, there is no ‘undo’ for moving the recipe cards except the New Week automation we’ll set up next. There is also no deduplicate option for the Shopping List items. If you figure out a way to include an undo option for single cards, or a dedupe option, let me know!
Step 7: Set up the New Week Automation
To clear out the recipes you’ve chosen for This Week and the ingredients in the Shopping List, you can use the New Week automation. This is a button that also appears at the top of the board, and clicking it will remove all the cards from This Week and Shopping List so you can start your meal planning again.
To set up the automation:
- At the top of your board, choose Automation
- Choose Buttons from the list of options
- Make sure you have selected ‘Board Buttons’ in the automation screen
- Click Create Button
- Name your button ‘New Week
- Select the Move Card action
- Set up an action to archive all the cards in list Shopping List
- Click the blue plus to add the action
- Set up an action to move all cards in list This Week to list Recipes
- Click the blue plus to add the action
- Click the Save button to save the automation
- You should now see a button labeled ‘New Week’ at the top of your board
Click the New Week button to archive all of the Shopping List items, and move all your recipe cards back into the Recipes board!
And you’re done! Now you have a Trello board that will automate your grocery list.
A note before the bonus step:
- This setup won’t work well if you want to add the same recipe to your This Week list multiple times. To fix this, change the New Week automation to archive your This Week list instead of moving the cards back to Recipes. You will need to use the Copy functionality to put cards in This Week, instead of dragging and dropping them.
Bonus Steps: Set up easy printing on free boards
If you do not have a paid Trello account, you will only be able to export your boards as JSON files. This makes it nearly impossible to print out your recipes for the week. However, I have a workaround using a second free tool.
Here’s how to get the printing set up:
- Create a new board named Print Menu
- Add 1 list named Menu to the board
- In your Meal Planning board (the first board we made), add two more lists named [IGNORE] Print Prefs and [IGNORE] Archive Menu
- Add a new board button automation called Generate Menu
- Set up an automation that does: move all the cards in list “Menu” on board “Print Menu” to list “[IGNORE] Archive Menu” on board “Meal Planning and Recipes”, copy all the cards in list “This Week” on board “Meal Planning” to list “Menu” on board “Print Menu”, copy all the cards in list “[IGNORE] Print Prefs” on board “Meal Planning and Recipes” to list “Menu” on board “Print Menu”, and archive all the cards in list “[IGNORE] Archive Menu”
- Save this automation
This automation takes the cards from the This Week column and copies them into the Menu list in Print Menu. It also removes and archives any cards that were already in the Menu list.
To print:
- go into the Print Menu board
- open the menu at the top of the board
- click the Print, Export, and Share option
- Export the board as JSON
- Use Ctrl/Cmd + A to select all the code on the page
- Copy the code
- Go to https://gsyan888.github.io/print-trello/
- Paste the JSON code into the box, click Ready, and follow the rest of the instructions on this site
If you want to save your printing preferences as noted on this tool, put the card in the [IGNORE] Print Prefs list. I use the printing preferences to avoid printing the images that are attached to the recipes.
And that’s it! So easy!