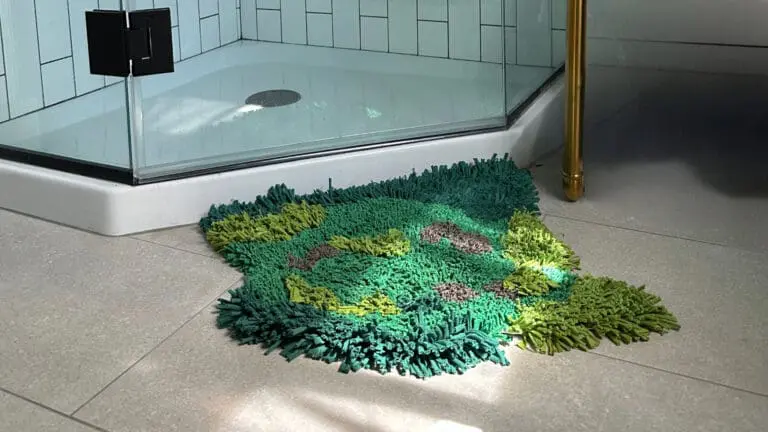
My DIY Moss Rug Bath Mat
After watching this video, I really wanted a moss rug. Not a rug made out of real moss, a rug made out of regular rug materials that looked like a soft bed of moss. The rug in this video is quite large, but I had neither the space nor the patience for an undertaking of…