DIY Wrapping Paper: Free Nordic-Inspired Stencil Download
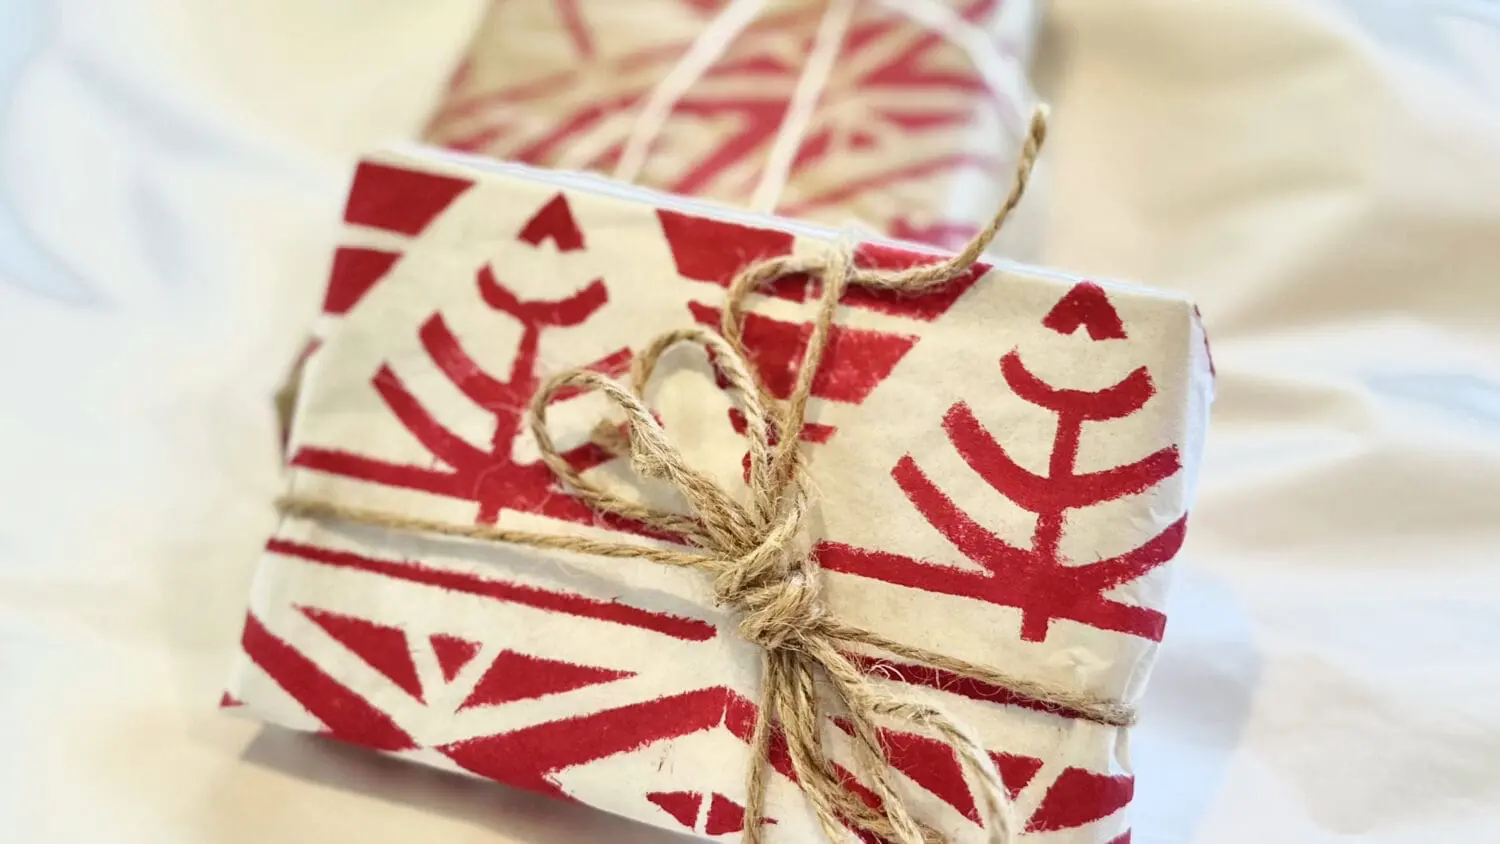
Welcome the holiday season with a personal touch! With this free downloadable stencil, you can create your own Scandinavian-inspired Christmas wrapping paper. This simple DIY project brings a cozy Nordic aesthetic to your gift-wrapping, perfect for anyone who loves minimalism, natural textures, and timeless patterns. Not only is it easy, but it’s also a lovely way to make the holiday season more personalized and sustainable.
Why Stencil your own Wrapping Paper?
In a world where the holiday season often means rushing through crowded stores and choosing mass-produced items, creating your own stenciled wrapping paper adds a personal, mindful touch. Handmade wrapping paper allows you to slow down and enjoy the simple joy of crafting, turning the act of wrapping gifts into a creative ritual. It’s a way to infuse each gift with a piece of yourself.
Stenciled wrapping paper also encourages sustainability. Using natural or recycled kraft paper along with minimal, eco-friendly materials means you’re reducing waste and making a more environmentally conscious choice. Unlike traditional glossy, plastic-lined wrapping papers that often aren’t recyclable, handmade paper can be reused, composted, or recycled. Choosing to create rather than consume also aligns beautifully with the minimalist, nature-focused aesthetic of Scandinavian design.
Finally, DIY wrapping paper is a beautiful way to connect with loved ones through handmade artistry. With each brush stroke or stamped pattern, you’re adding a touch of warmth and care, transforming what could be a routine task into a memorable part of the holiday season. Plus, it’s a wonderful project for sharing time with friends or family members, inviting everyone to join in the fun of crafting and creating together.
What You’ll Need for DIY Wrapping Paper
Stencil
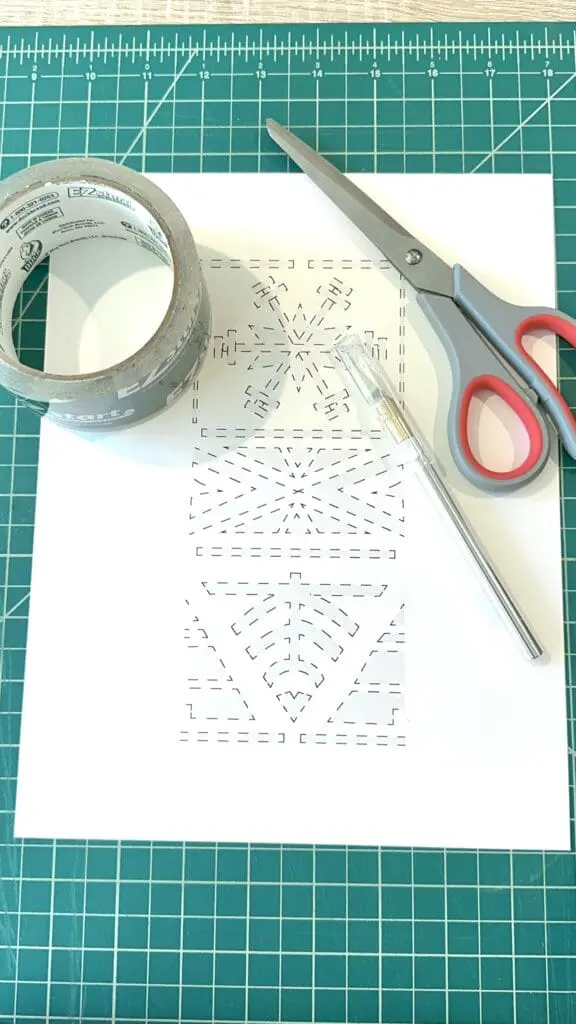
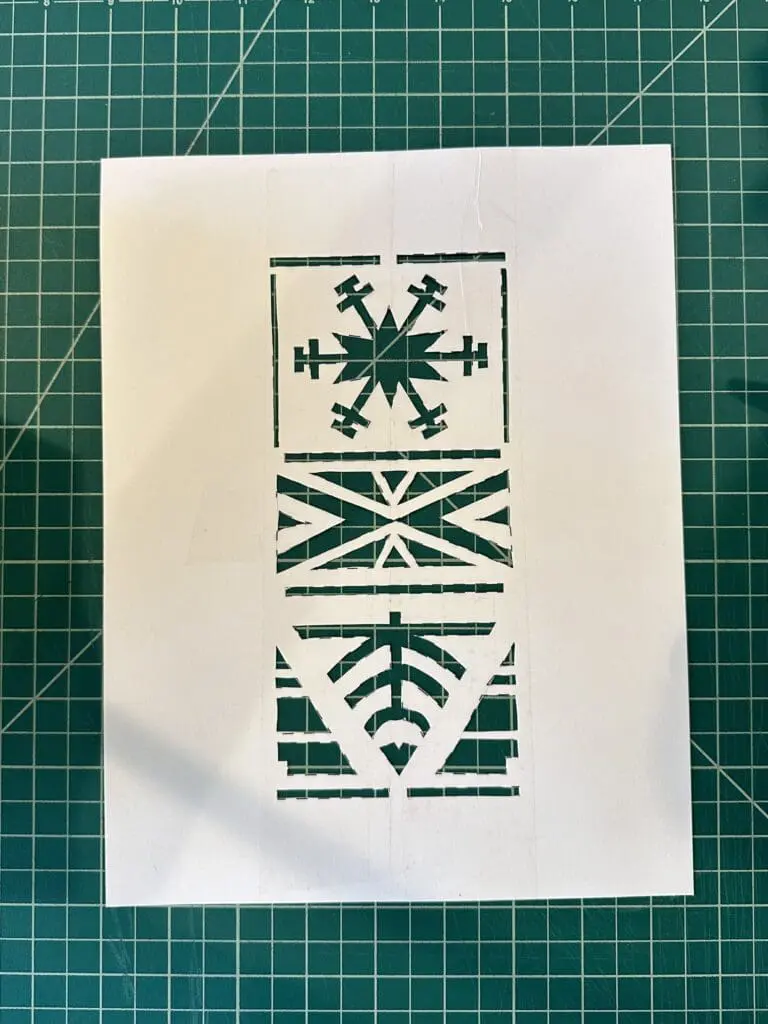
Download the free stencil pattern [here](link). Print the stencil on sturdy cardstock and cut along the dotted lines with an Exacto knife to cut out the gray areas.
Paper
Brown kraft paper and newsprint are both excellent choices. Kraft paper’s natural, earthy tone complements the Scandinavian aesthetic perfectly, while newsprint offers a lighter, rustic look. If you want to go even more eco-friendly with your DIY wrapping paper, consider reusing materials like brown grocery bags or other recycled paper. Thicker paper with a matte finish will hold your ink or paint the best.
Ink or Paint
For stenciling, stamping ink and acrylic paint work are great options. Traditional colors like red, white, and forest green capture the classic holiday spirit, while metallics—gold, silver, or copper—add a modern, festive flair. Acrylic paint works well on kraft paper, offering good coverage and quick drying times, while stamping ink provides a crisp, even look for detailed stencil designs.
Small Sponge or Brush
A small sponge (like a makeup sponge) or paintbrush will be perfect for dabbing paint onto the stencil. Sponges work well for smooth, even coverage, while brushes give a more textured look.
Painter’s Tape or Masking Tape
Use this to secure the stencil to the paper to prevent slipping and smudging while you apply your paint or ink.
Scissors and Exacto Knife
You’ll need an Exacto knife for cutting out the stencil, and scissors to cut your wrapping paper to size as needed
Twine, Ribbon, and Greenery for Embellishments
To complete the look, finish off each package with some natural twine, ribbon, or even a sprig of greenery like pine or eucalyptus.
Step-by-Step Guide: Stenciling Your DIY Wrapping Paper
Step 1
Print and cut out the stencil. You can ‘laminate’ it with strips of packing tape before cutting it out to help the stencil paper last longer.
Step 2
Prepare your workspace. You may want to cover it with newspaper or an old cloth to avoid paint or ink stains.

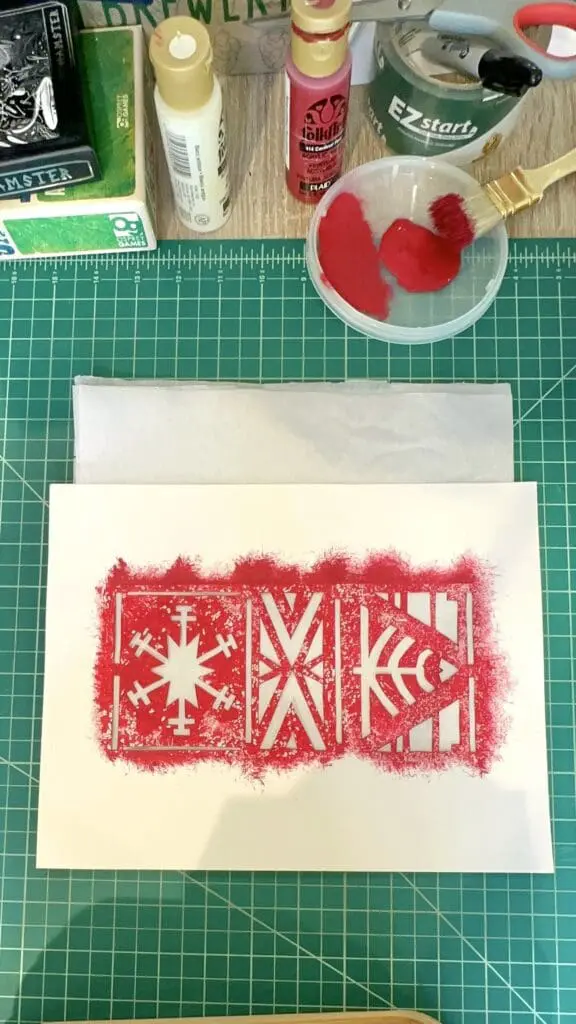
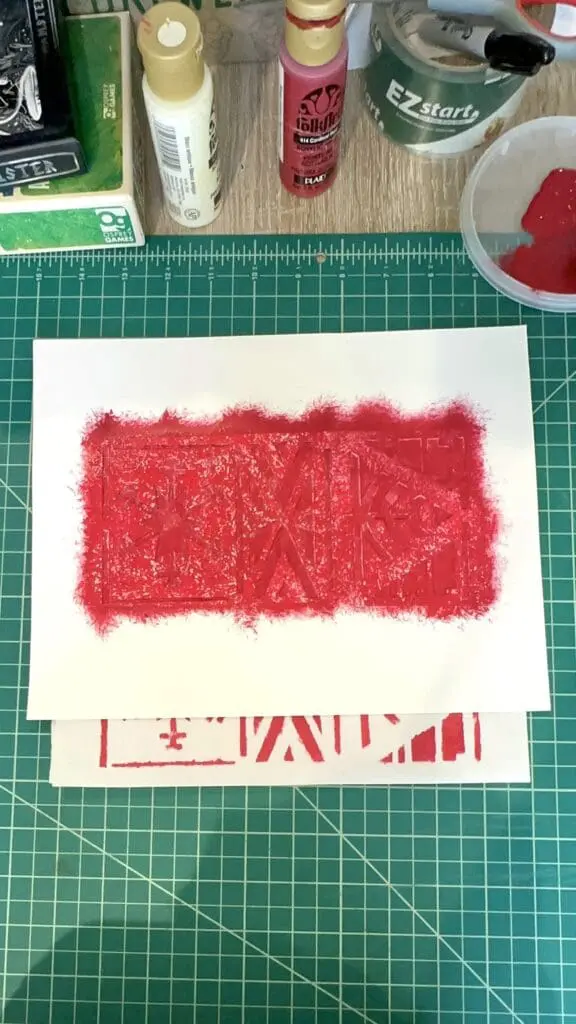
Step 3
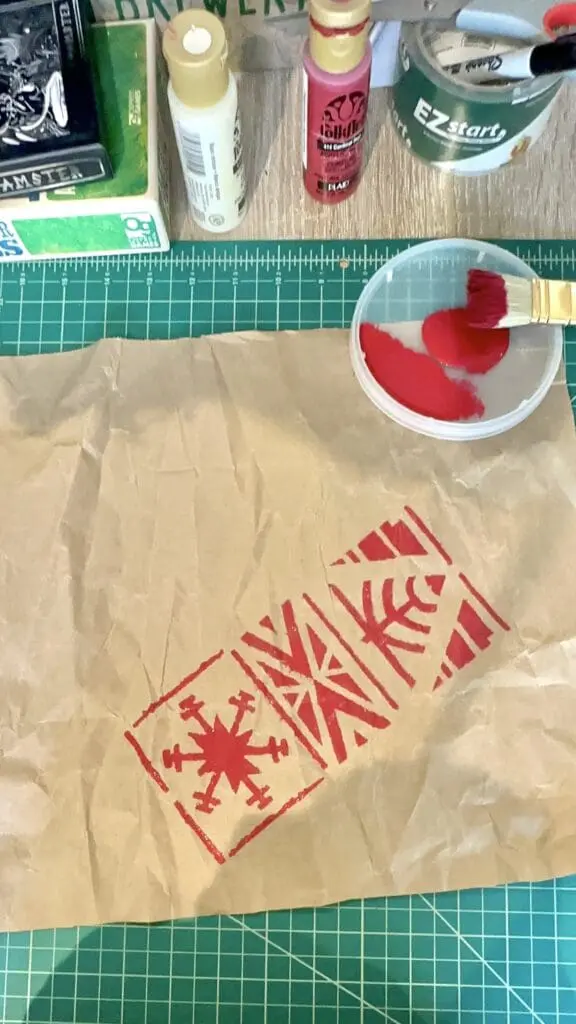
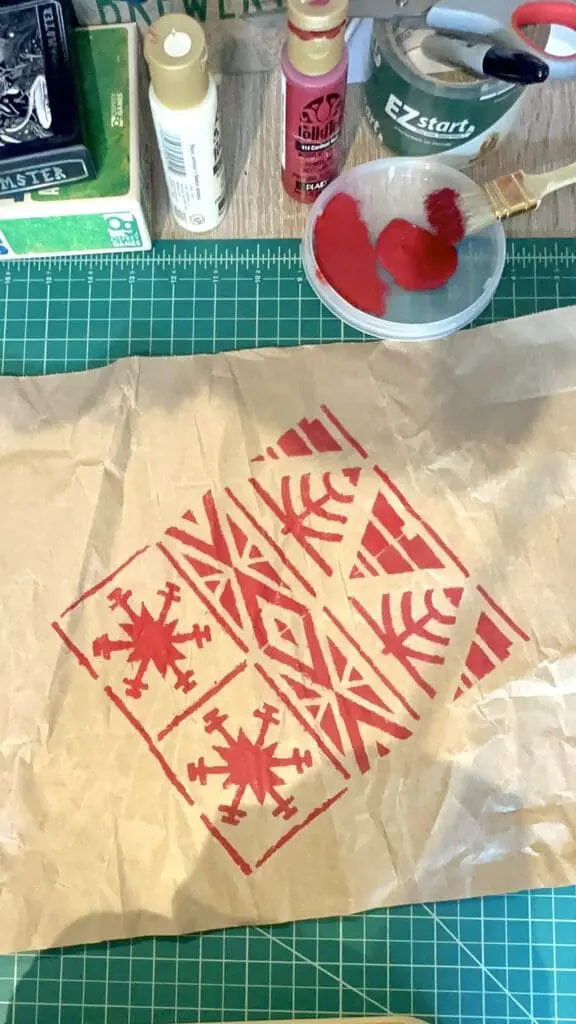
Position the stencil on your paper and lightly dab paint or ink onto the design. Let each section dry before moving to the next to prevent smudging.

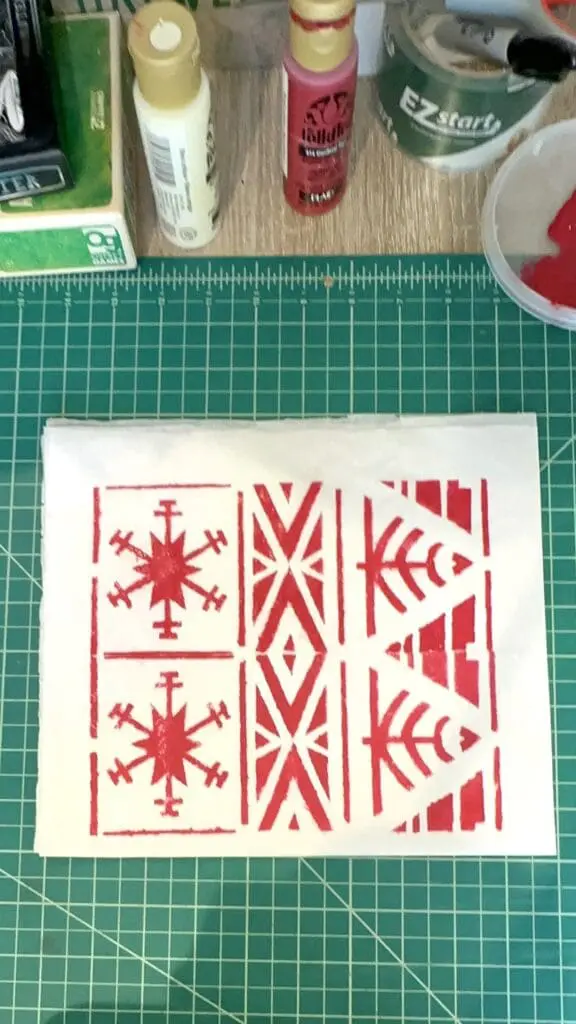
Step 4
Once you’re finished, allow the paper to dry fully. Then, roll or fold it carefully until you’re ready to wrap your gifts.
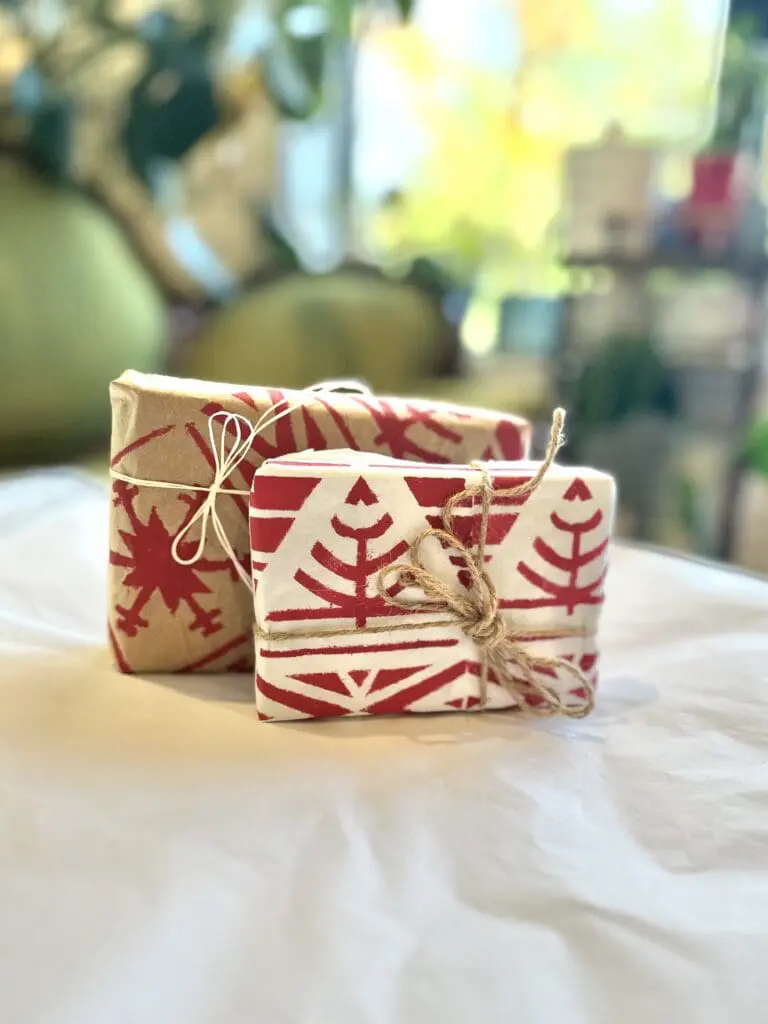
Step 5
Wrap your gifts!
Tips for Achieving a Perfect Finish
Pre-Fold the Paper Around Your Gift Box
Before you start stenciling, it can be helpful to do a quick wrap of the paper around your gift box to see which areas will be most visible. Lightly mark or mentally note the spots where you want your stencil pattern to stand out. This approach not only saves time but also helps ensure that your design is well-positioned, allowing you to focus on decorating the areas that will be showcased.
Try Layering Colors
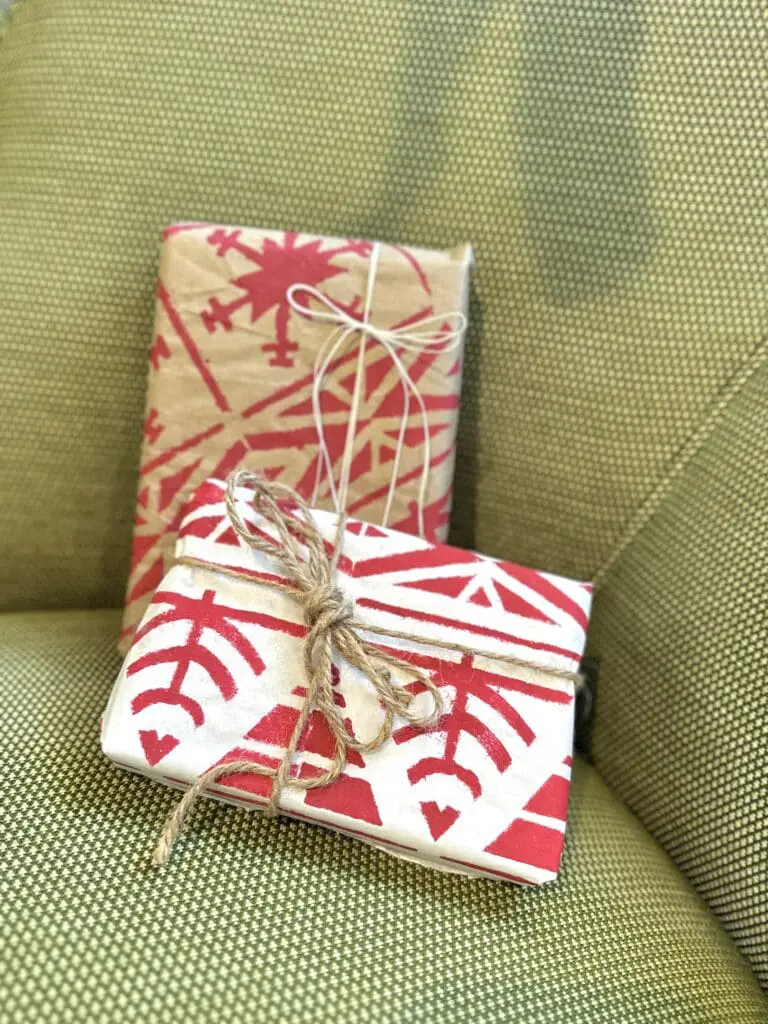
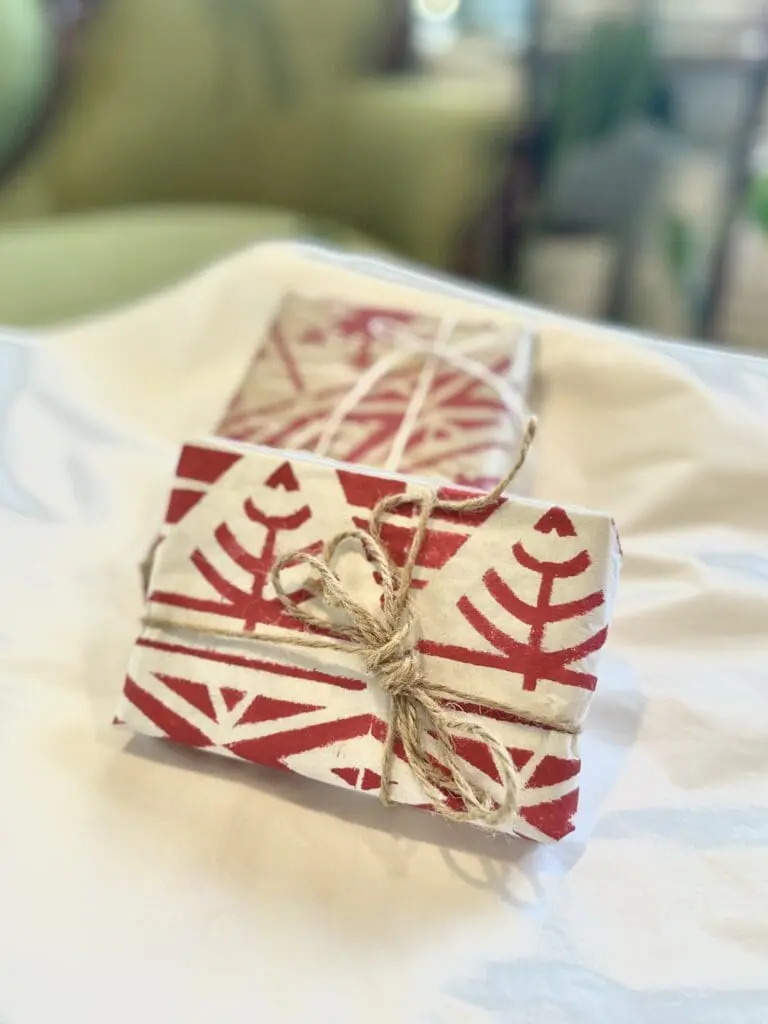
For added depth, try layering a second color over your first stenciled design. Start by stenciling with one color, let it dry, then shift the stencil slightly or use a different section for a subtle overlap effect. Choosing a complementary color, like white over red or gold over forest green, adds visual interest and a beautiful dimension to your wrapping paper.
Create a Matching Set
Why stop at wrapping paper? Use leftover kraft paper scraps to create matching gift tags, cards, or even small decorations like paper tree ornaments. You could even stencil gift bags! With the same stencil pattern, you can add a lovely touch of coordination to your gift presentation. Simply cut tags from the extra paper, stencil them, and punch a hole for twine or ribbon.
Go Free-Form
You can also download the simple version of the stencil which is meant to be hand-embellished. Use the stencil to block in the basic shapes of your pattern, and fill in the details with a small paintbrush or paint pen.


Wrapping it Up: Sustainable and Personalized Gifting
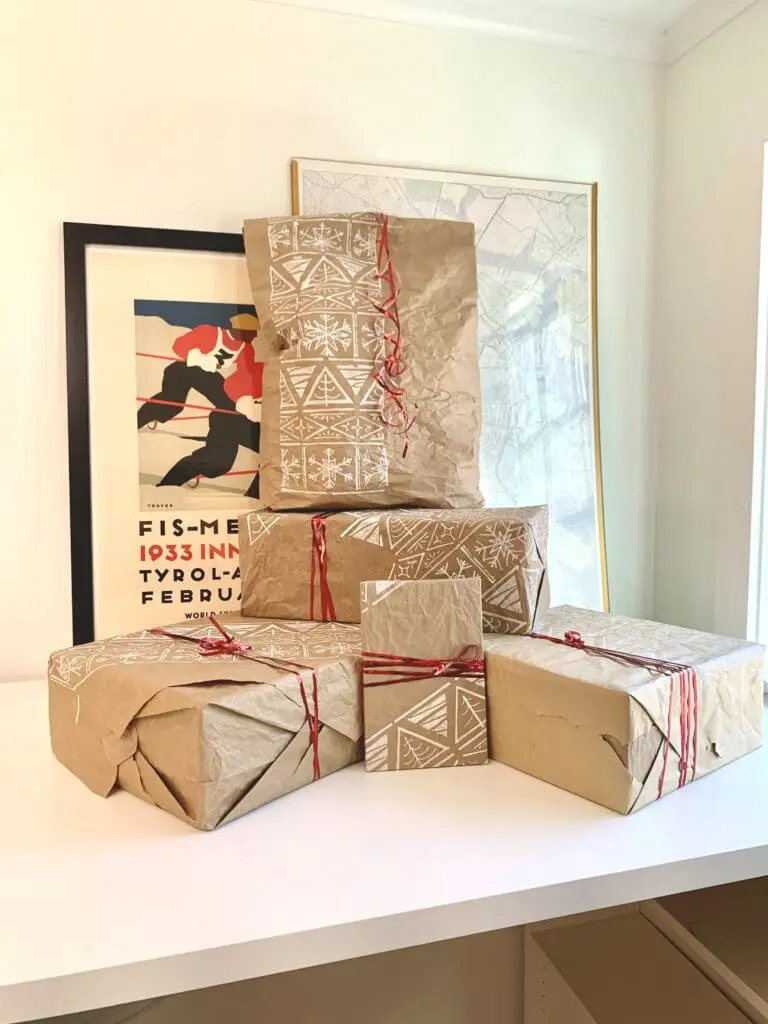
One of the most rewarding aspects of creating your own wrapping paper is the joy of giving a handmade gift. There’s something truly special about a present that feels personalized from the outside in, wrapped in paper you crafted with care. Not only does it show thoughtfulness, but it also makes your gifts feel one-of-a-kind and deeply meaningful to the recipient.
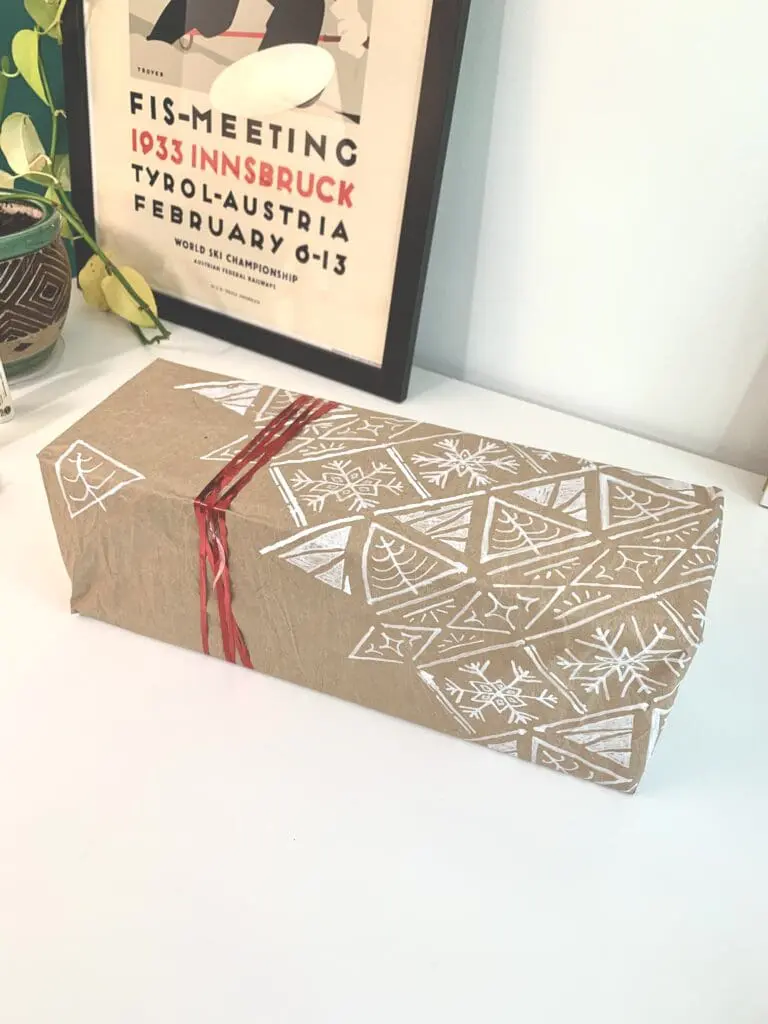
Choosing to make your own wrapping paper is also a wonderful way to reduce holiday waste. By using recyclable kraft paper, eco-friendly inks, and reusing materials, you’re contributing to a more sustainable season. Small details, like adding a handwritten note, a sprig of pine, or a length of natural twine, can make each package feel beautifully personalized while still keeping it simple and natural. These little touches add a cozy, Nordic-inspired look that’s both timeless and environmentally friendly.
You might even inspire friends or family to give this project a try, creating a collective tradition around sustainable and artistic gifting.
In Conclusion
This holiday season, make your gifts stand out with a touch of handmade love and a dash of Scandinavian charm. With a simple stencil, a few materials, and a bit of creativity, you can transform plain paper into something truly magical. Download the stencil, gather your supplies, and enjoy a creative, relaxing DIY session that brings warmth and intention to the festive season.
Once you’ve created your stenciled wrapping paper, share your designs with us by using #willenwoodgrove on Instagram and Pinterest. We’d love to see your creations and celebrate the artistry of handmade holiday décor together. Here’s to making the holidays memorable, sustainable, and beautifully personal—happy crafting!
Now find some gifts to wrap!
Check out our gift guides and find the perfect present