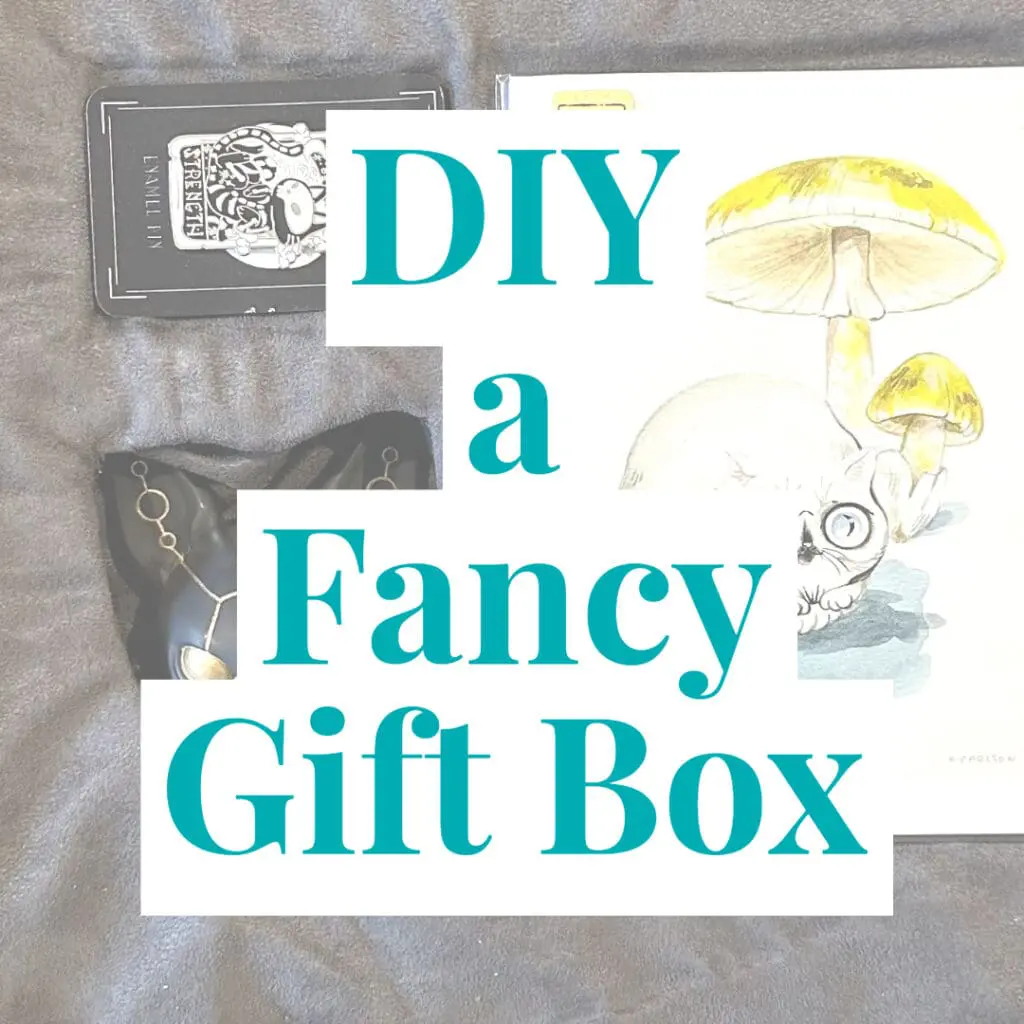
DIY a Fancy Custom Gift Box
Creating a DIY fancy gift box is an affordable way to make any present feel special and personalized, and you probably already have everything you need to make one! With a little creativity, you can add an extra element of delight and whimsy to your gifting. Adding in a few handmade touches turns even the simplest gifts into something memorable. Read on to learn how to DIY this unique gift presentation!
Why Make Your Own Gift Box?
A personalized gift box showcases your creativity and also makes gift-giving more fun for you and the recipient. I like to theme by gift boxes, by choosing a few items that all feel like belong together. They could all be a similar type of product (maybe some unique cooking spices), all the same color, or related to the same topic (maybe cats or fish). Once I have my items, I can create a perfectly tailored gift experience!
In this tutorial, we’ll cover how to create a fancy gift box that will add an extra bit of ‘wow’ to any gift.
How to Make your own Custom Gift Box
Materials and Tools
- Gift items
- Box (cardboard or otherwise)
- Sheet of cardboard
- Fabric, wrapping paper, or other decorative paper
- Exacto knife
- Scissors
- Glue (craft or hot)
- Pencil or marker
- Ruler
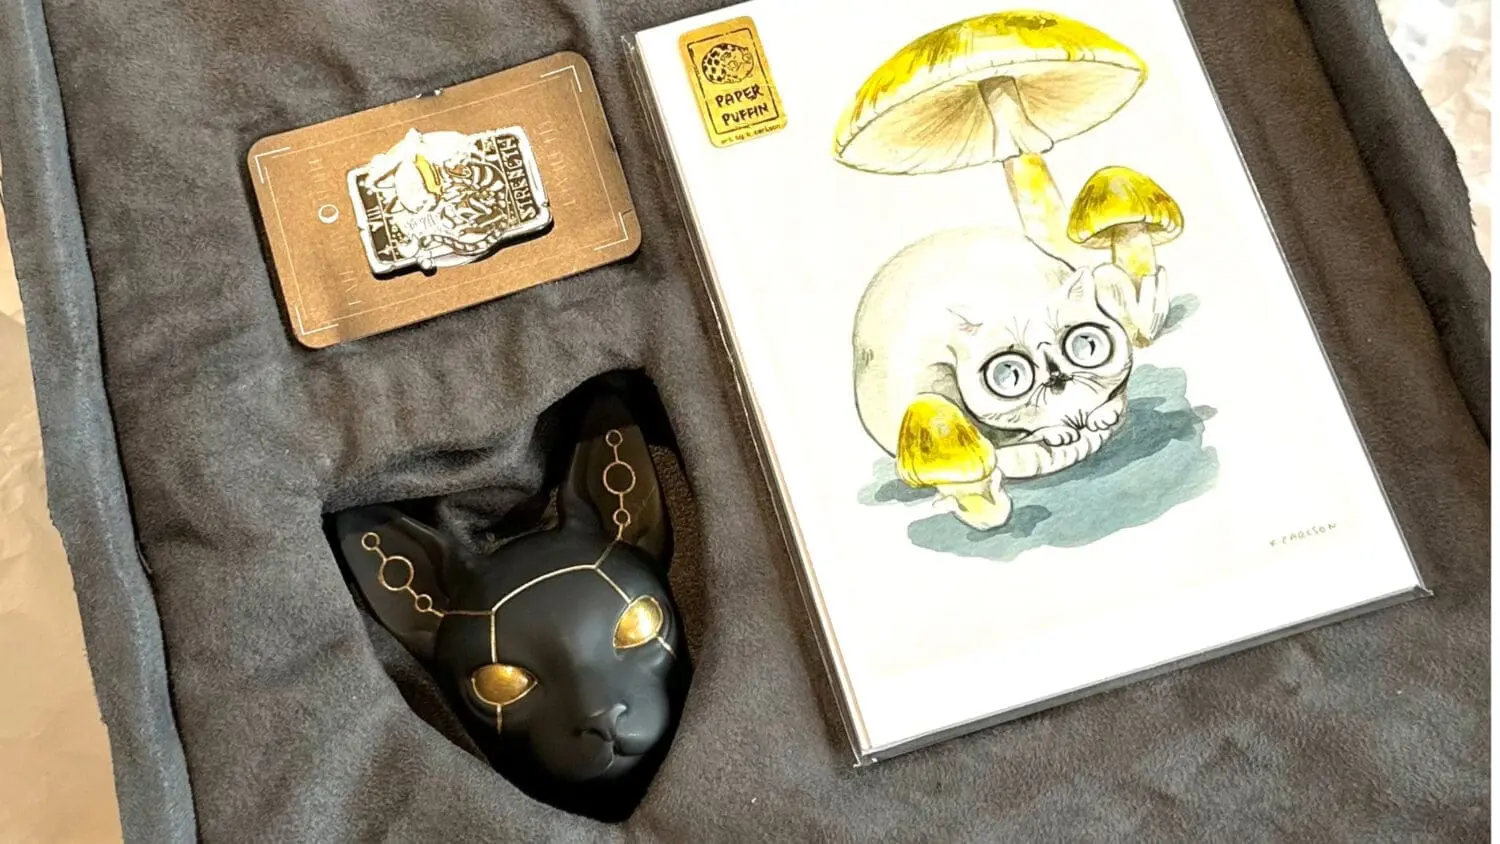
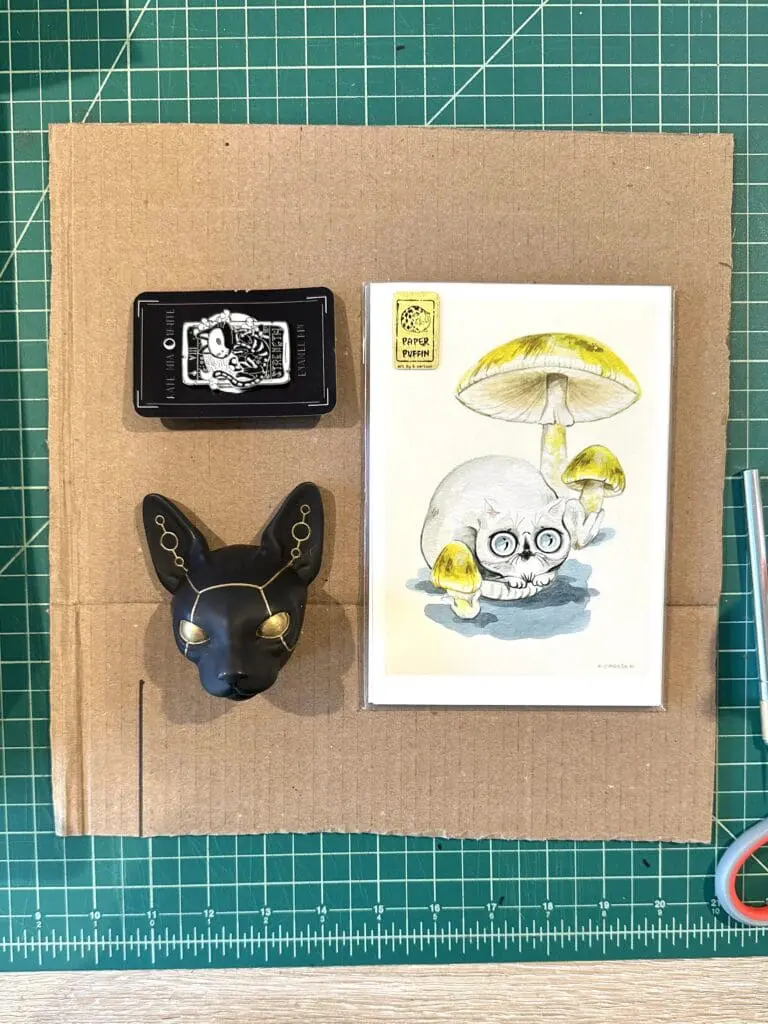
Choose your Gifts
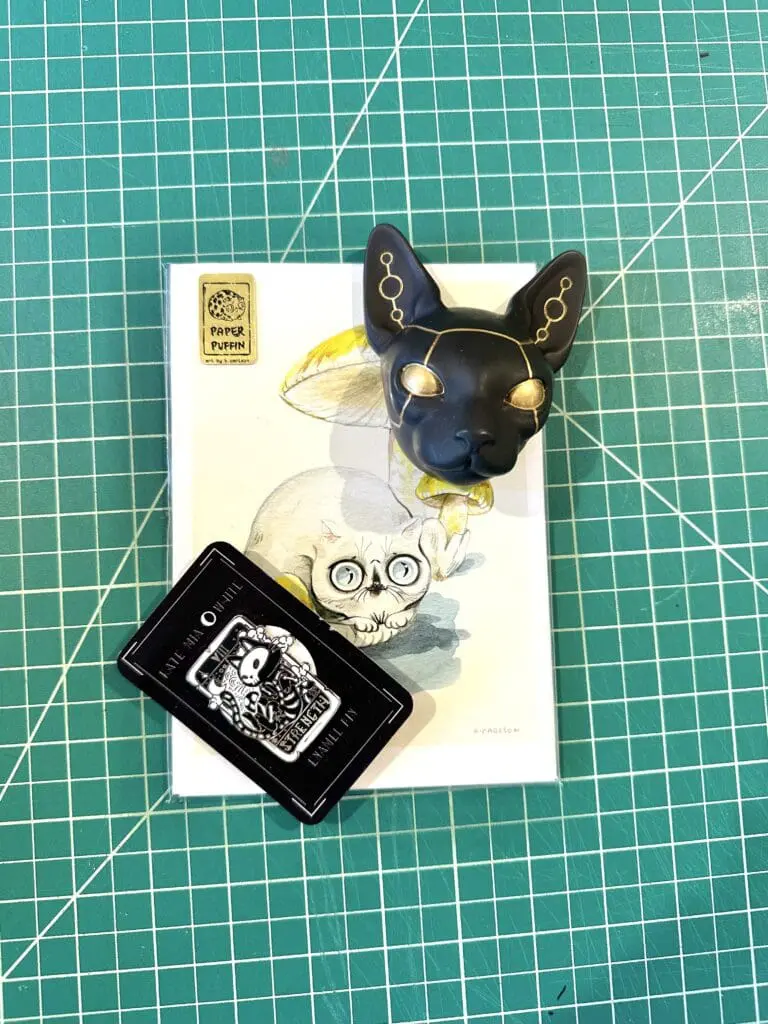
Choose a few smaller gifts that you know the person you’re gifting to will love. You could make a gift box of some premium cosmetics, a gift box of different salsas to try, or even a box of fun trinkets you found at the latest flea market. Whatever you choose to give, a fancy gift box will make it feel extra special!
P.S. Here’s where you can find the items I’m using in this tutorial
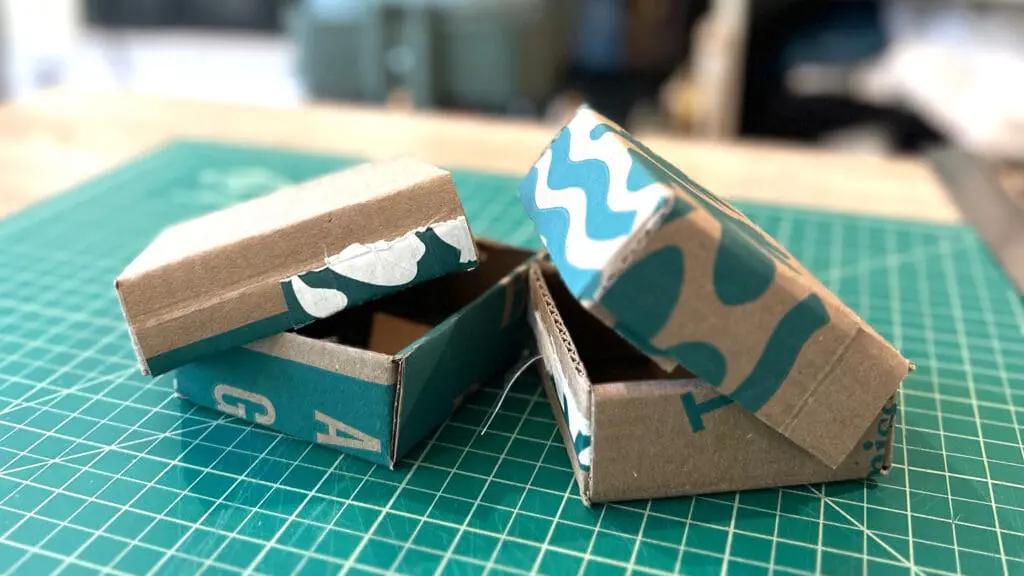
Choose a Box
Selecting a box that is large enough for your gifts. A shallow box works well for these gift boxes, because you can lay everything out in a way that’s easy to see. Use a cardboard box, or a decorative container that fits the occasion. If you’re feeling creative, you can even repurpose any extra cardboard you have on hand to make a completely custom size box!
Need a box?
Check out our patterns and guide for DIY cardboard gift boxes
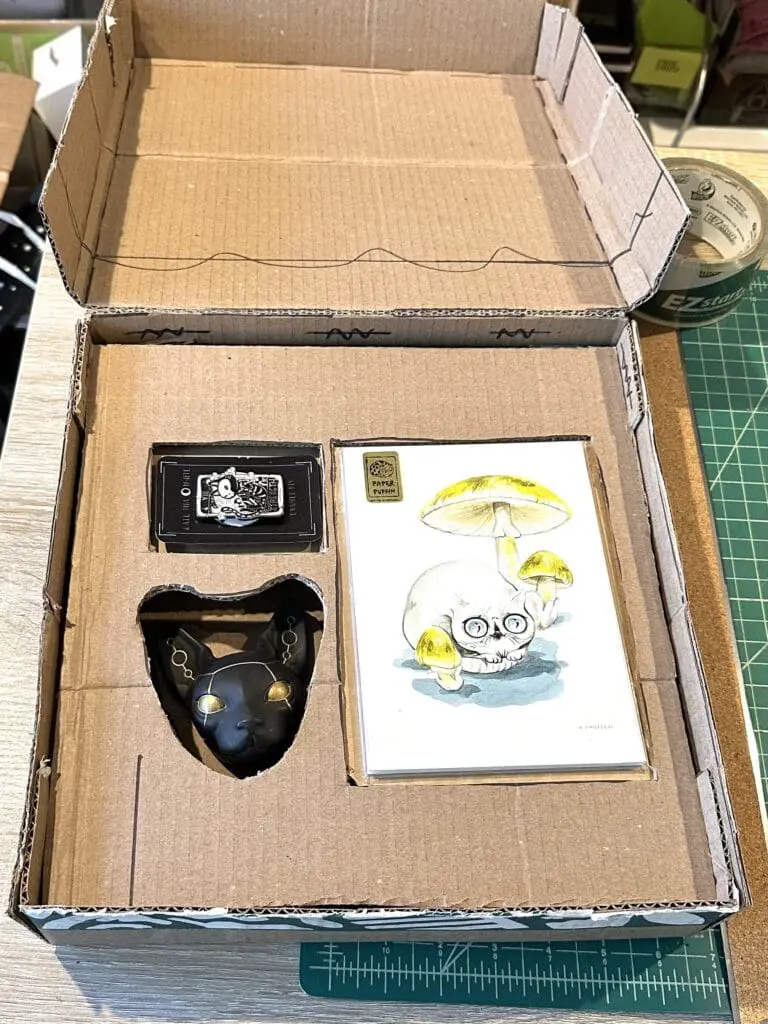
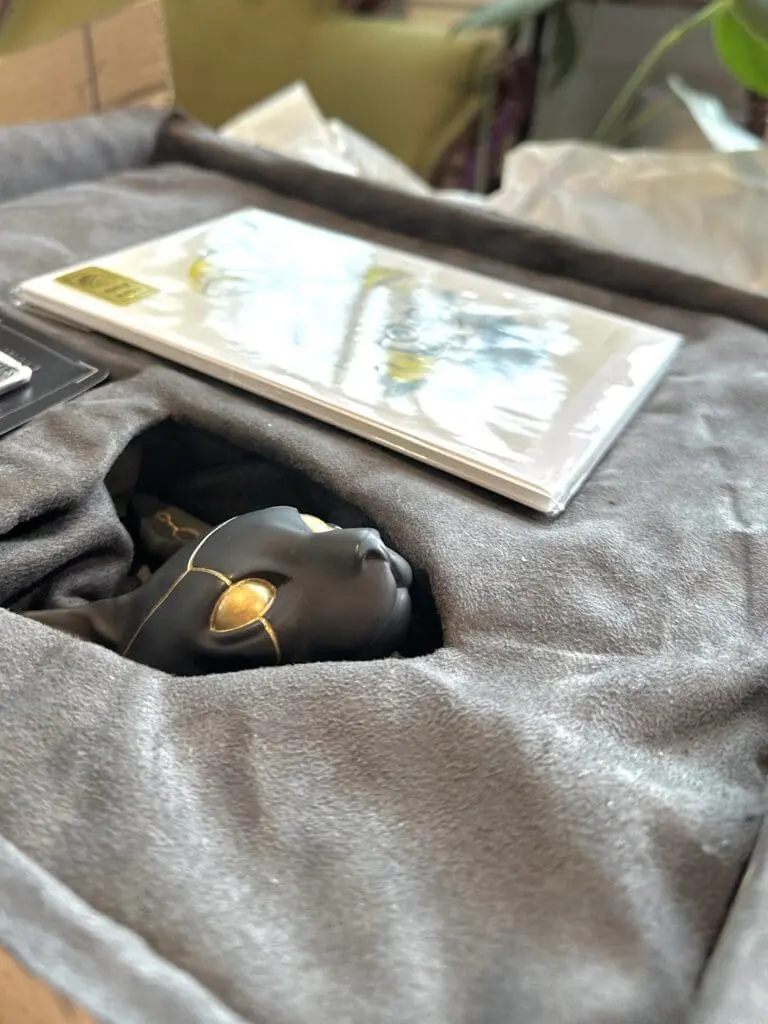
Lay Out Your Items
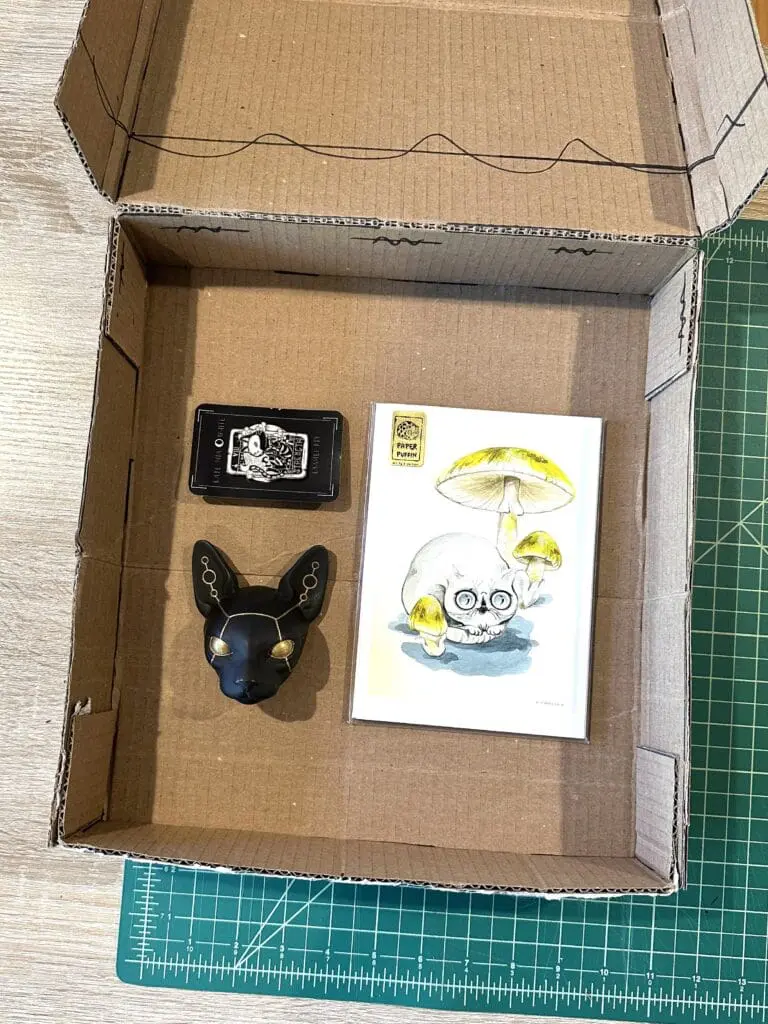
Take a moment to arrange your items in the box. Decide where each piece will go, ensuring that everything fits nicely and is visible. Part of the fun of a custom gift box is opening it up to reveal a beautiful array of interesting items!
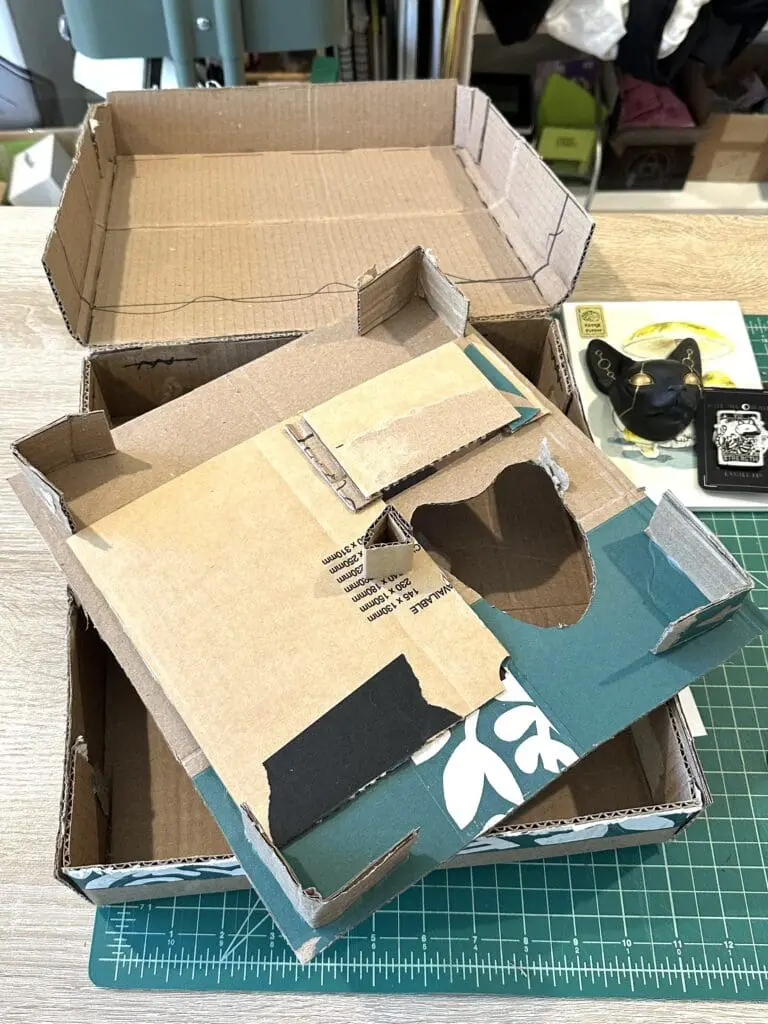
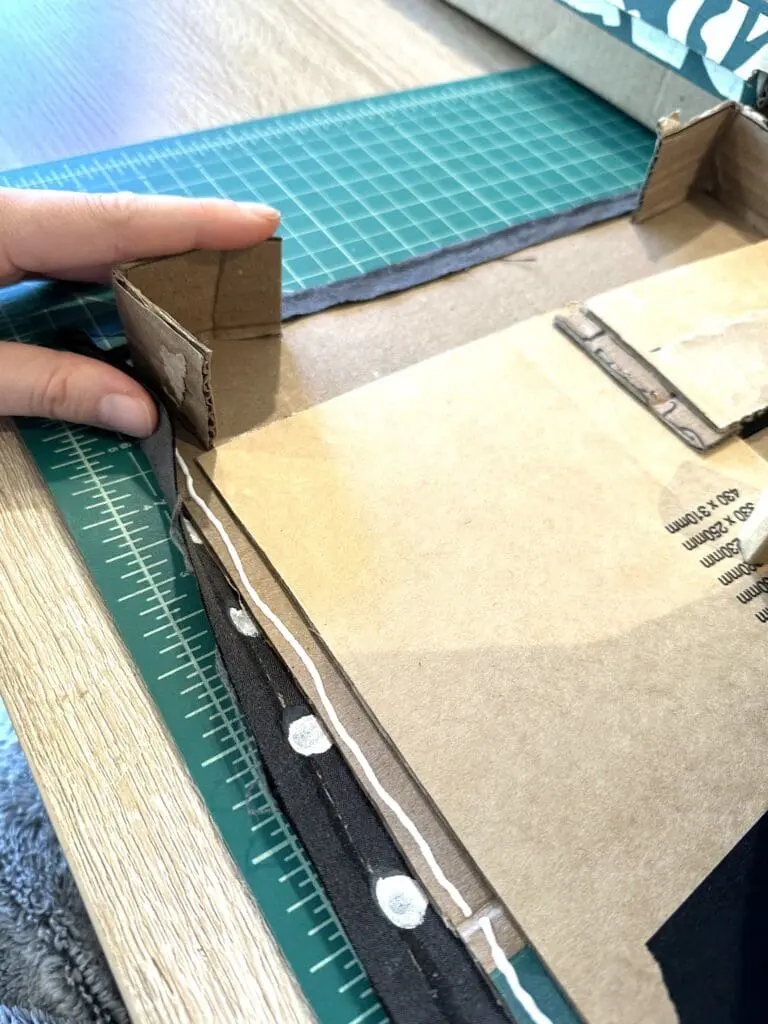
Cut Out and Assemble the Box Insert
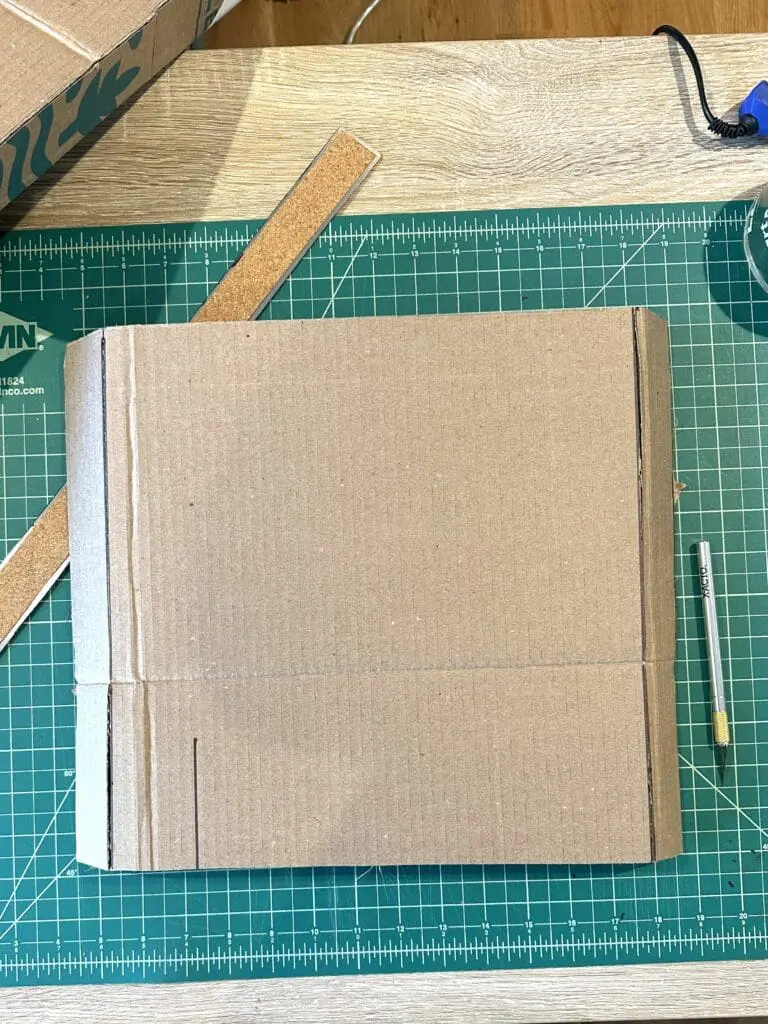
Cut another piece of cardboard to be the insert for the interior of the box. You may want to make the insert shorter than the items so the gifts are easy to pick up. You can cut the cardboard so that it can be bent to create ‘legs’ that will hold up the surface, or use pieces of cardboard glued to the bottom to hold it up. In this tutorial, I’ve used the second method.
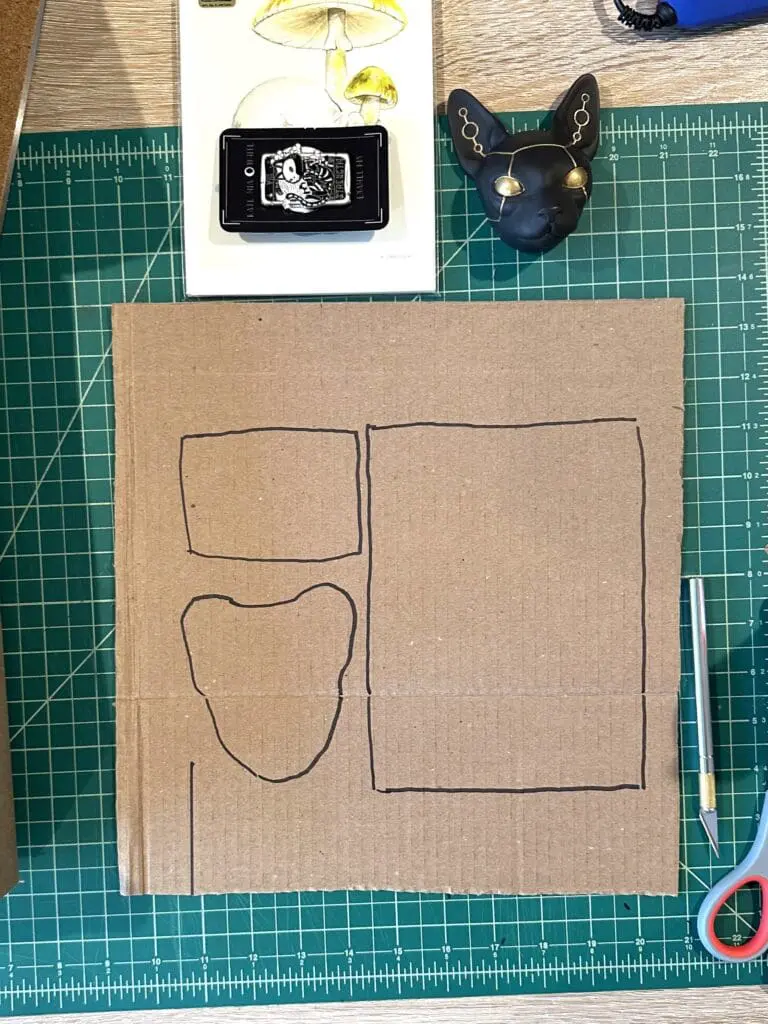
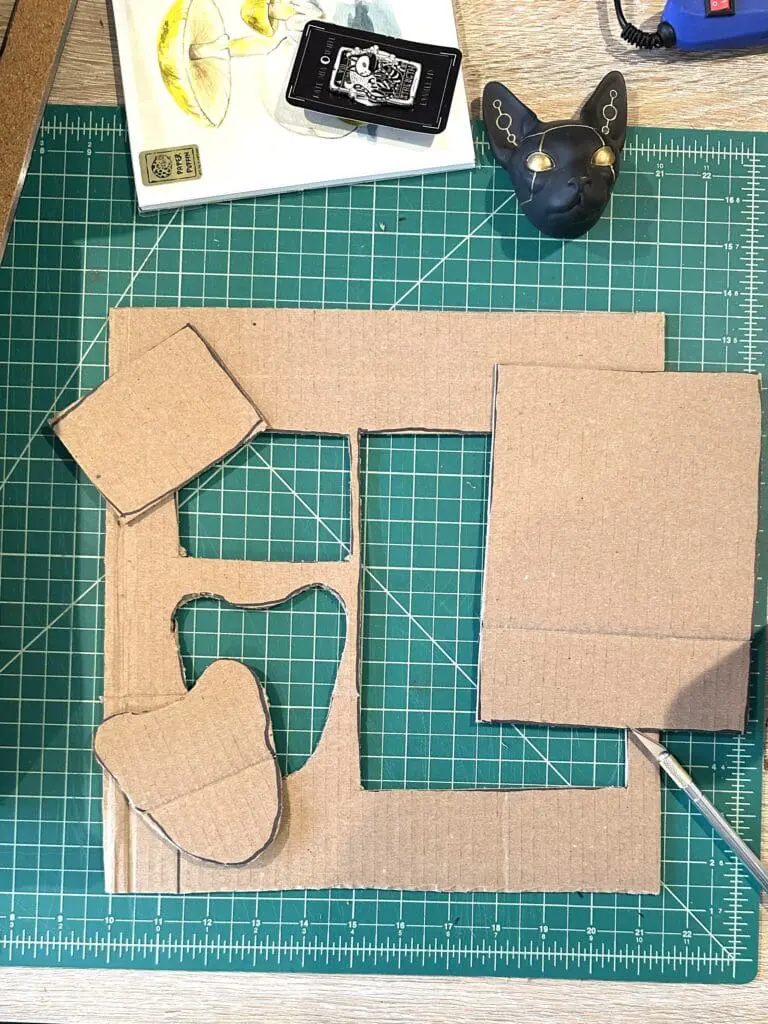

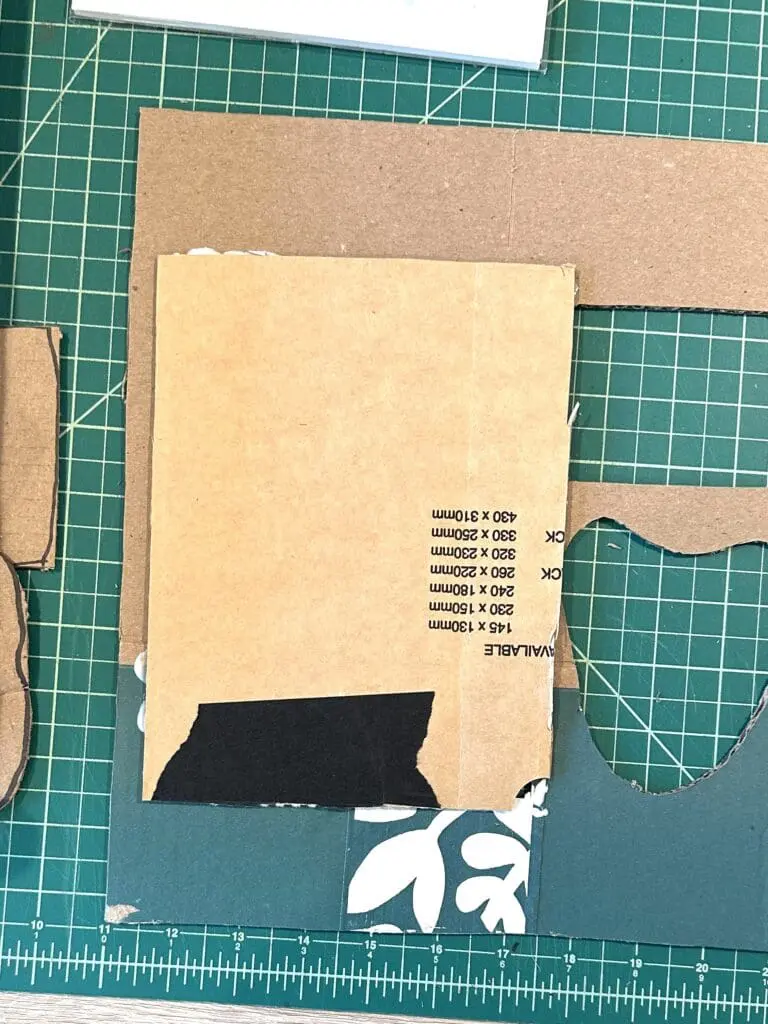
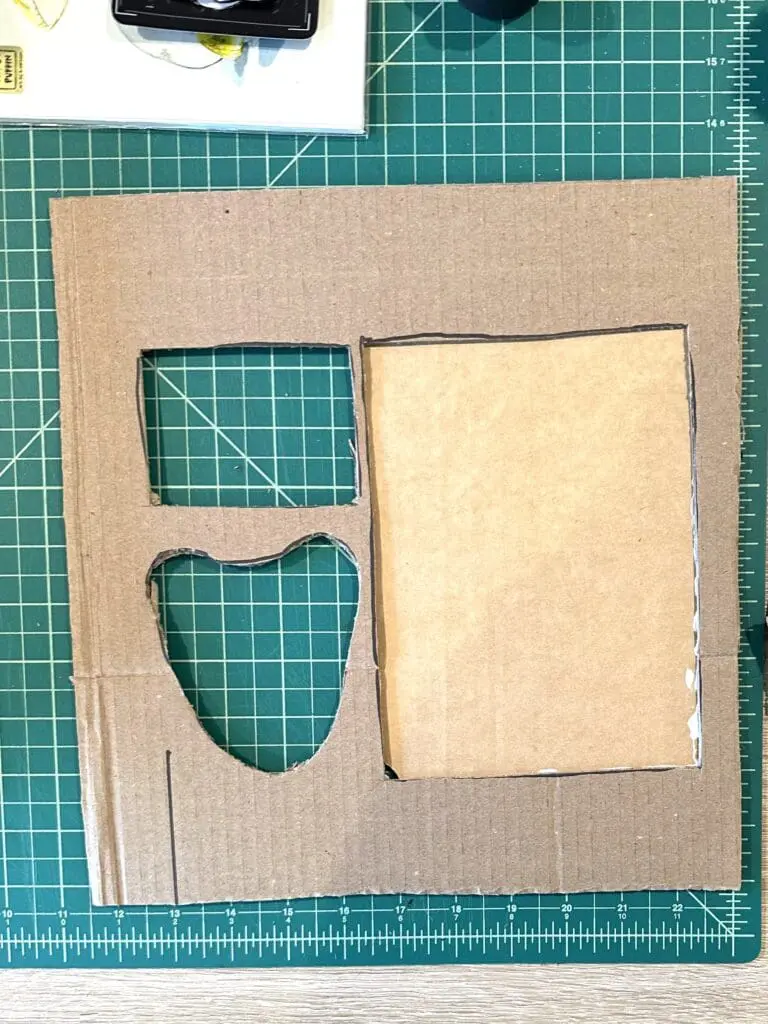

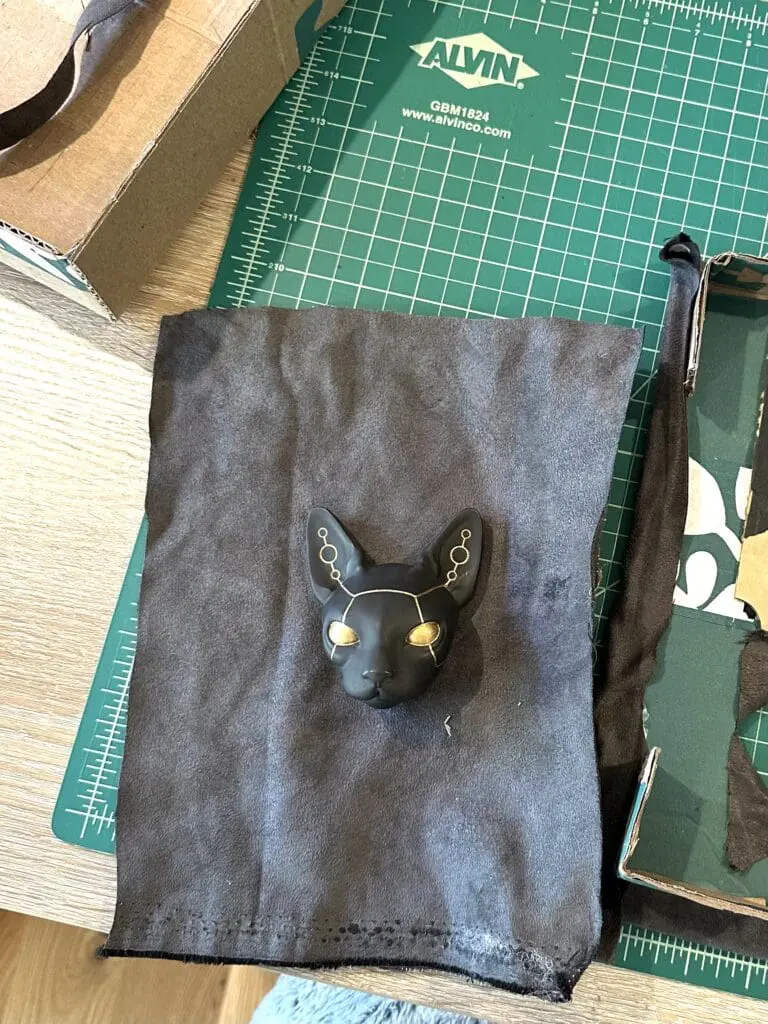
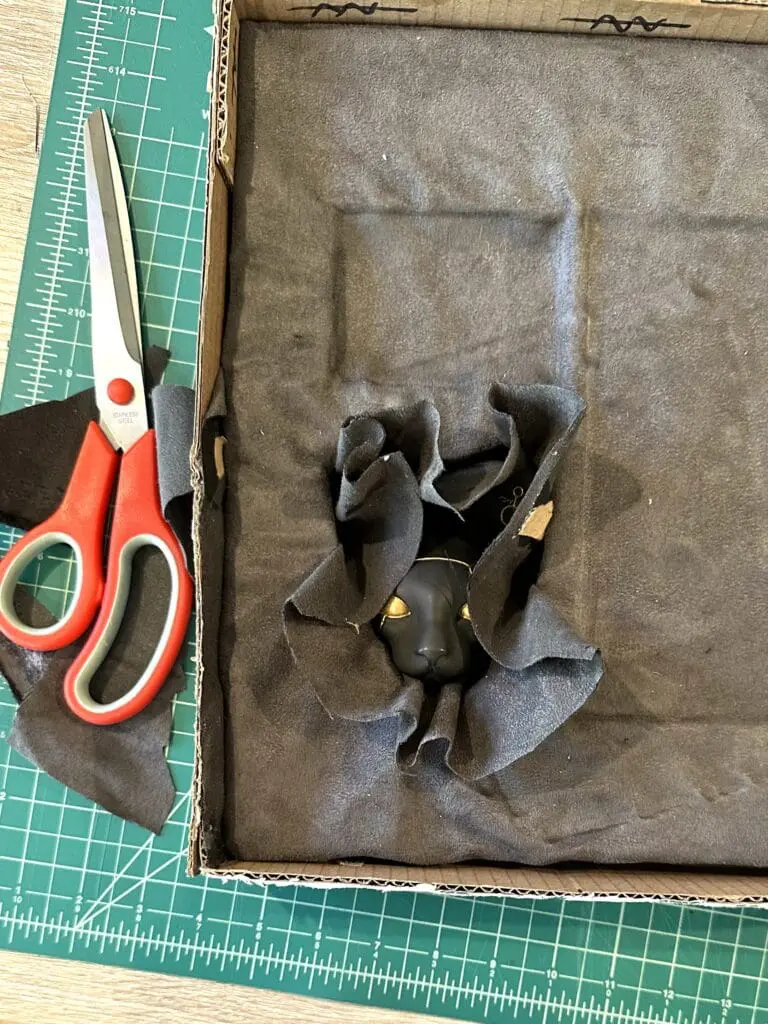
Next, arrange the items on the insert, and trace loosely around them. Leave some extra space so the items won’t be squeezed in. Then, cut out holes in the cardboard for each item you plan to include. Keep the piece of cardboard you cut out, and use it to elevate any the items that seem too short for the full depth of the box. You can hold these up off the bottom of the box with small cardboard supports.
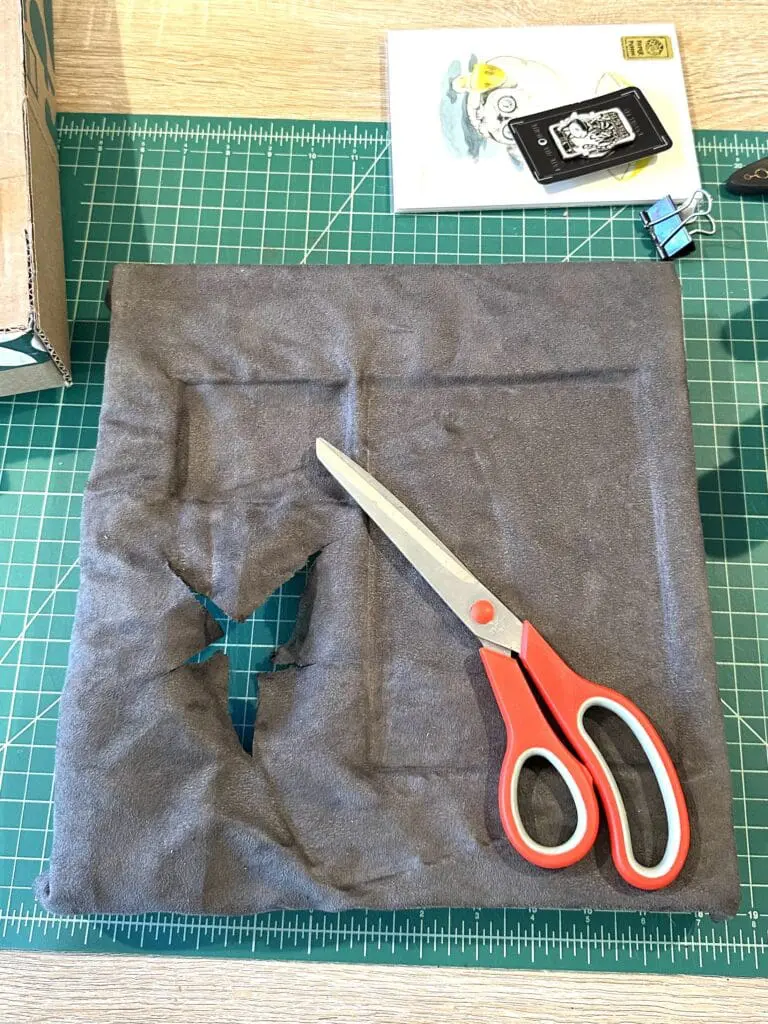
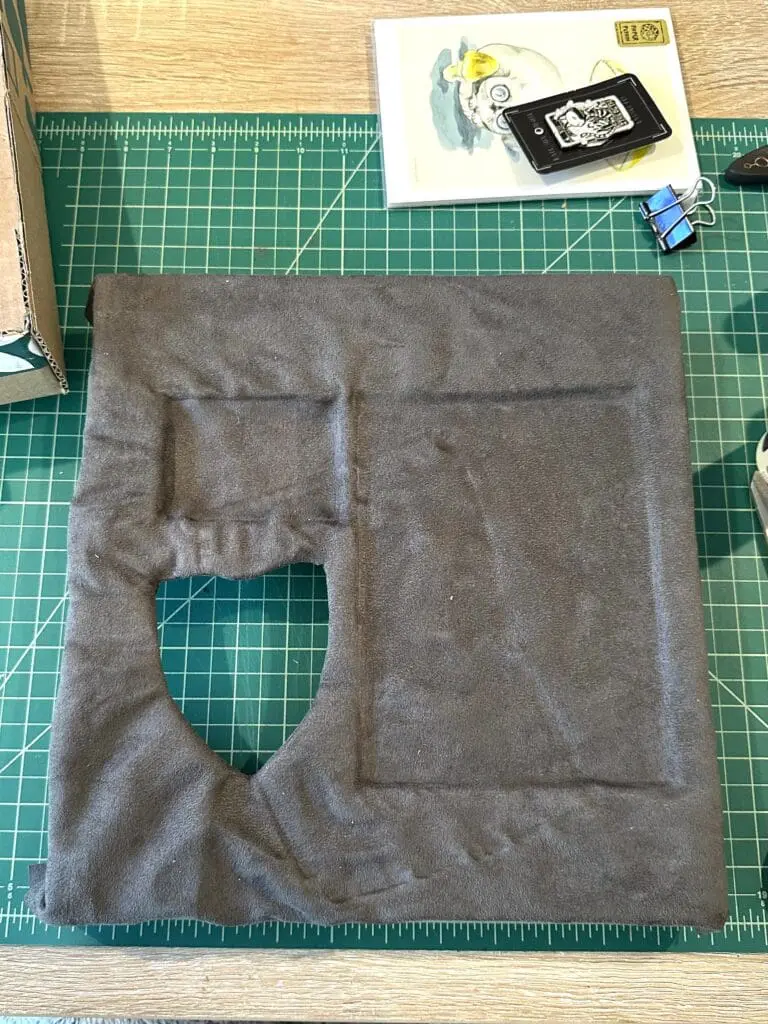
Cover the Insert with Fabric or Paper

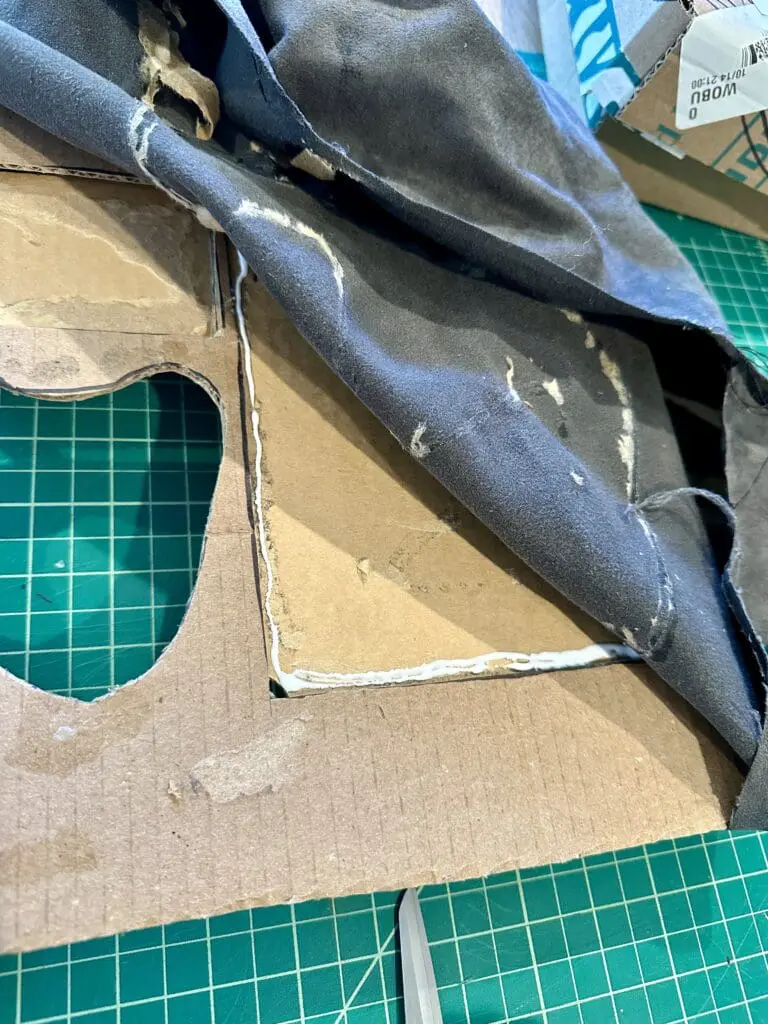

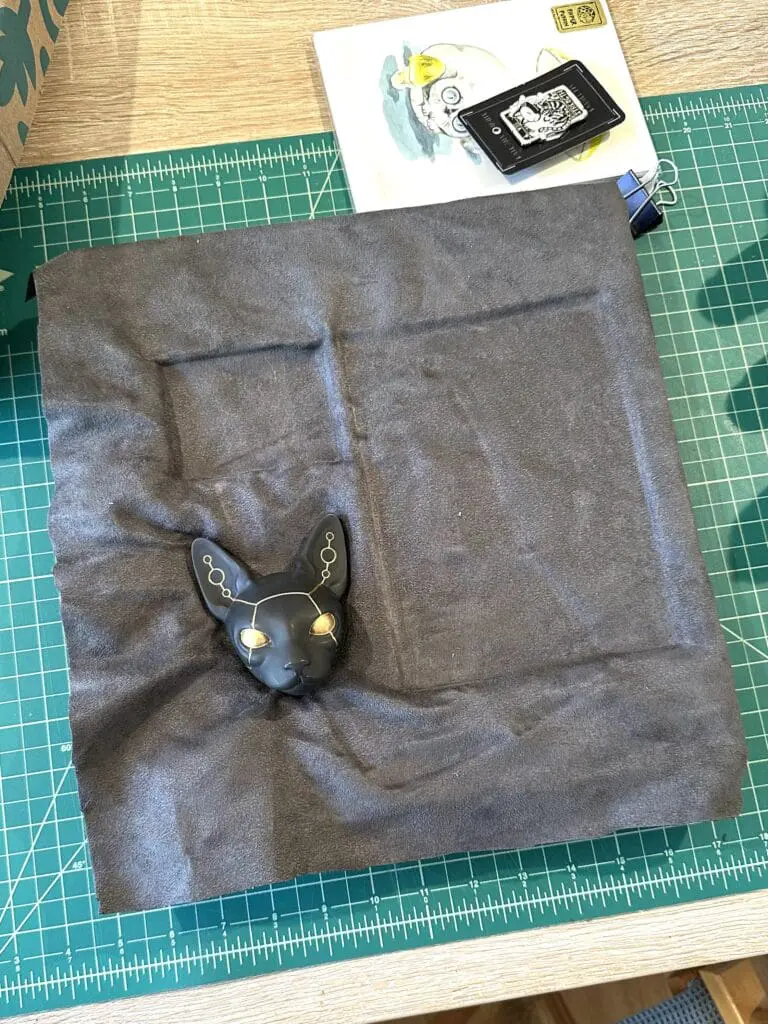
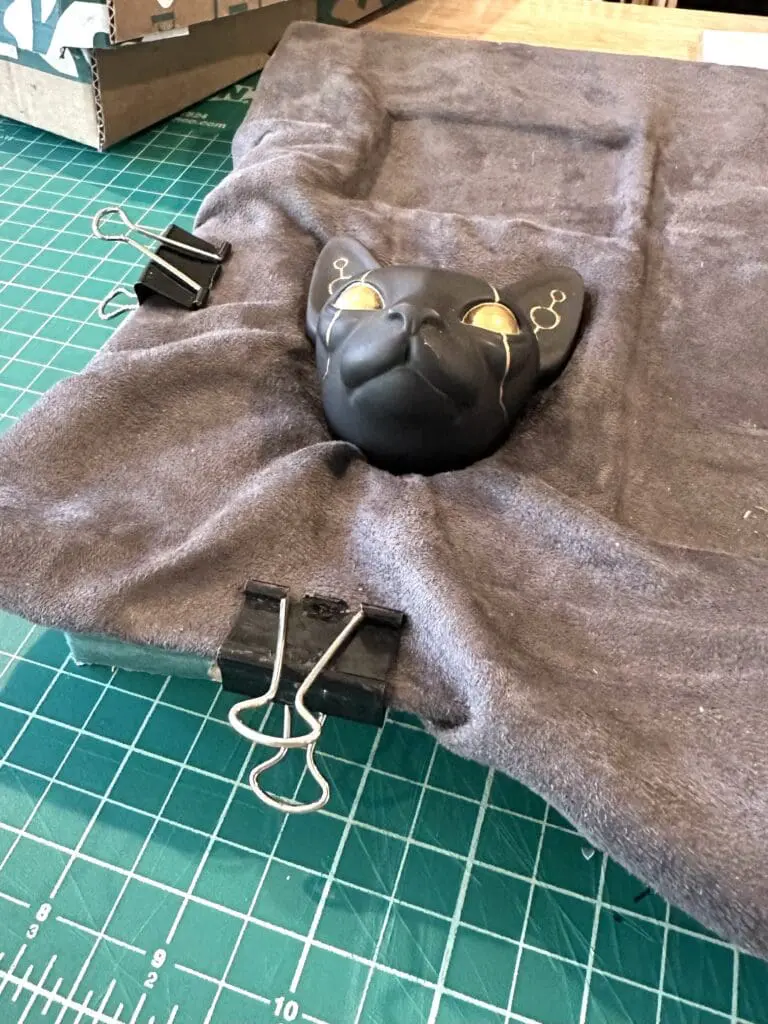
Once you have your cardboard ready, cover it with fabric, tissues paper, or wrapping paper that complements your gift theme. This is what really brings it all together and makes the gift feel premium and extra special! Sheets and curtains make great fabric for this purpose, and you can thrift some for a low price or possibly even get these for free.
Make sure to use fabric or paper that is larger than the box insert so there is enough material to fold into the holes you cut. Put a few beads of glue along one side of the hole in the cardboard, and smooth out the fabric or paper over the glue (I used the bottom end of a sharpie). I used tacky glue since it dries faster, but craft glue will work as well. Work around the edge of the hole until you have the fabric fully secured.
For deeper holes, you can use a separate piece of fabric (or paper) to avoid a lot of wrinkles and folds on the top of the insert. Here are some photos of the process.
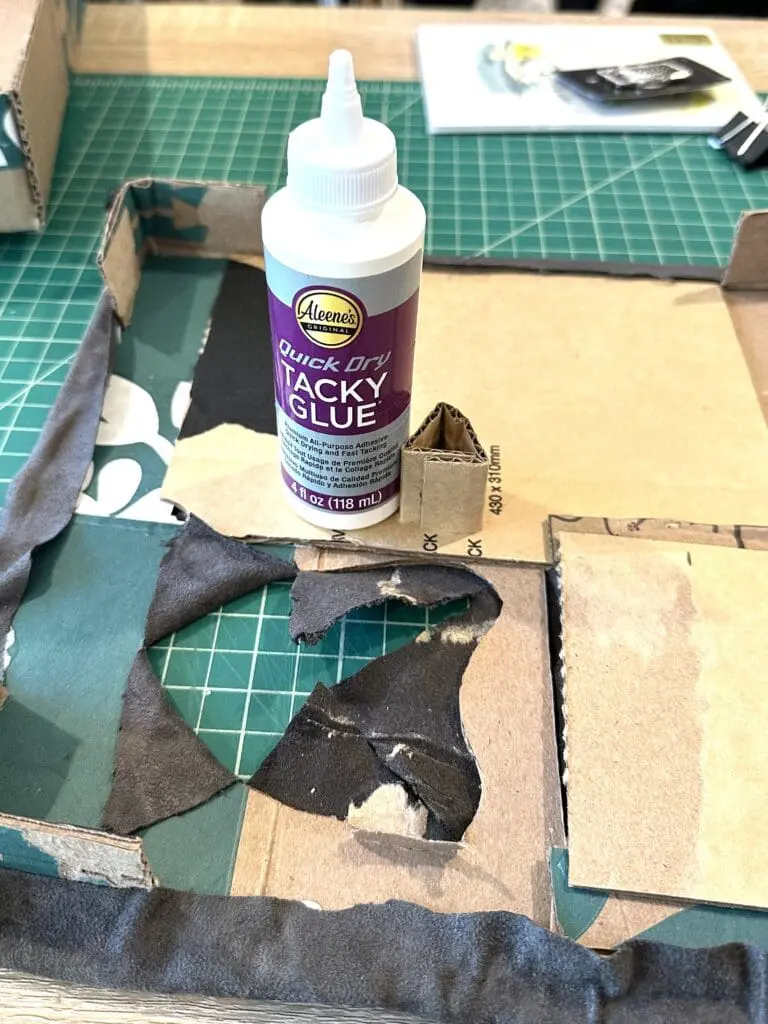
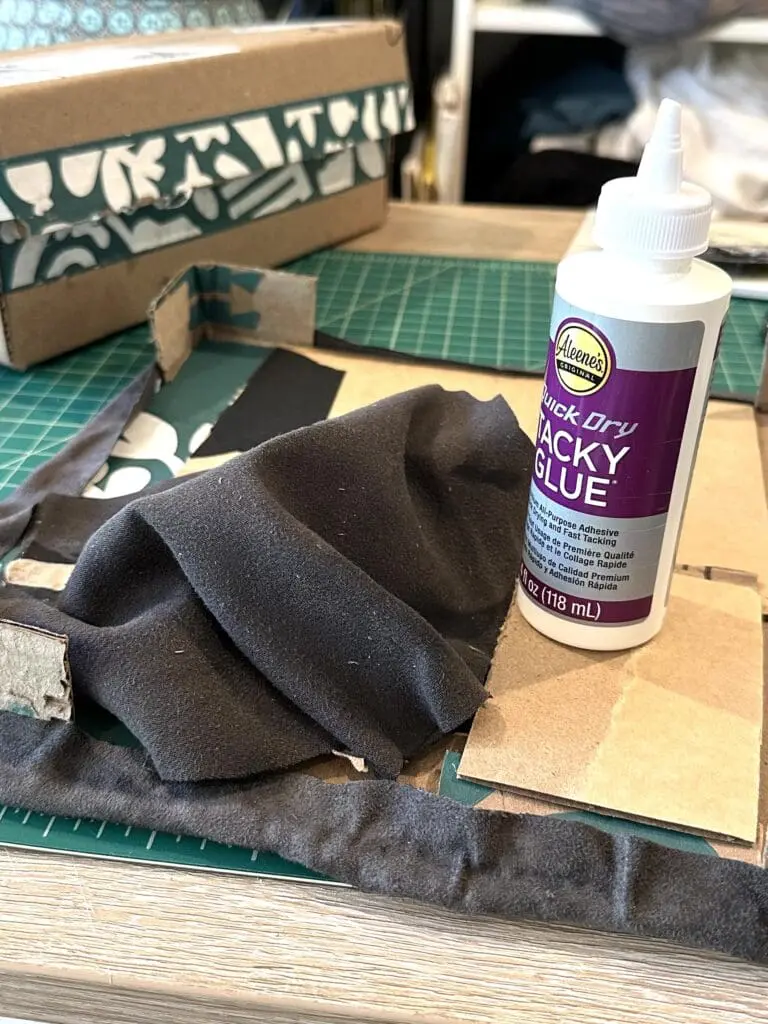


If you’re using fabric, this can be a long process because you might need to wait for a first area of the glue to dry and hold the material in place before you can continue adjusting and gluing the rest of the fabric.
Pack your Box
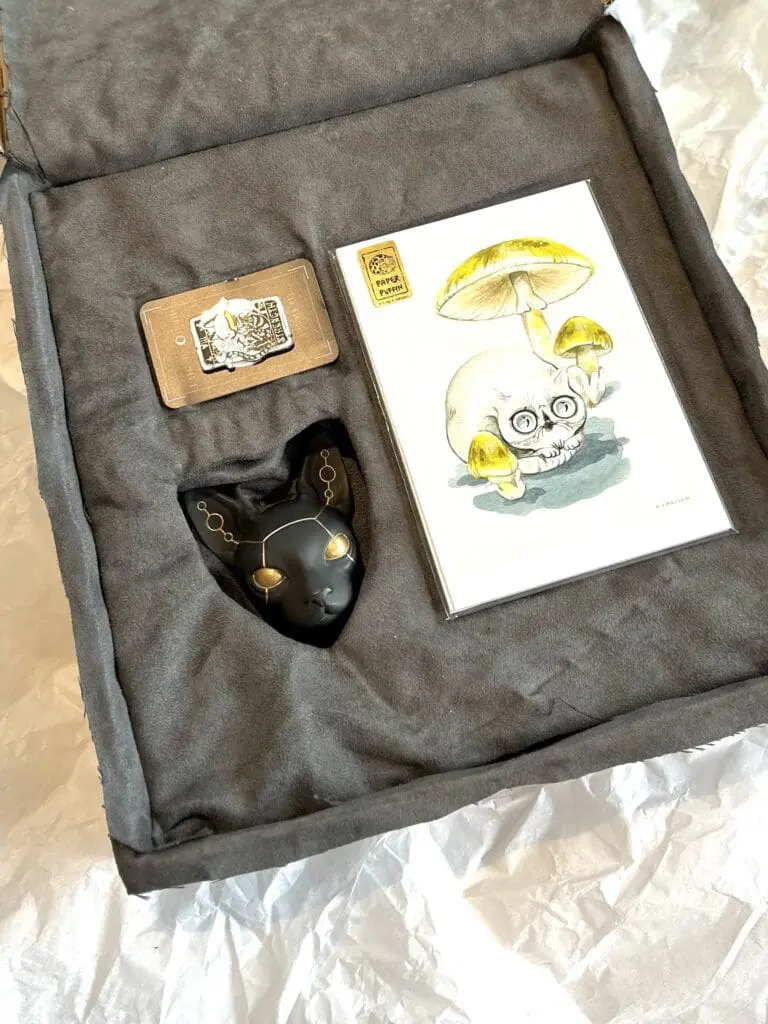
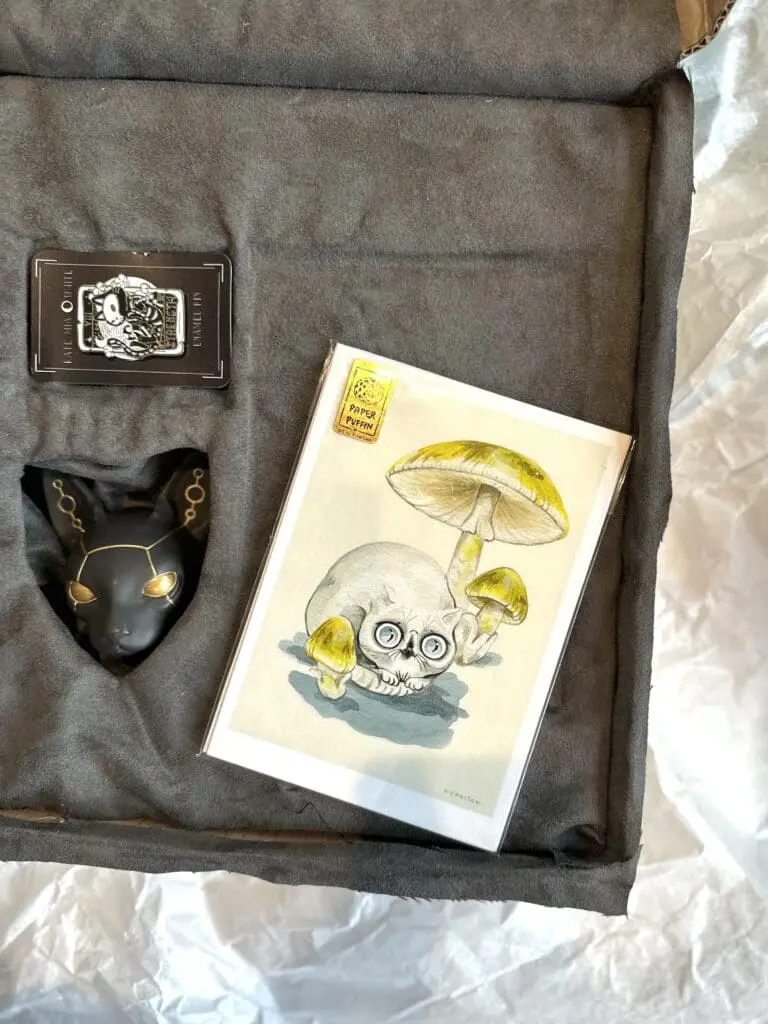
Now it’s time to pack everything into your custom gift box! Place the items into their designated spaces, and add a note and a sheet of tissue paper on top if you’d like. Once everything is in place, close the box, wrap it in your favorite wrapping paper and add ribbons or bows.
If you’re looking to personalize your wrapping paper too, we have a free stencil download you can use for your Christmas, Yule, and other winter holiday gifts.
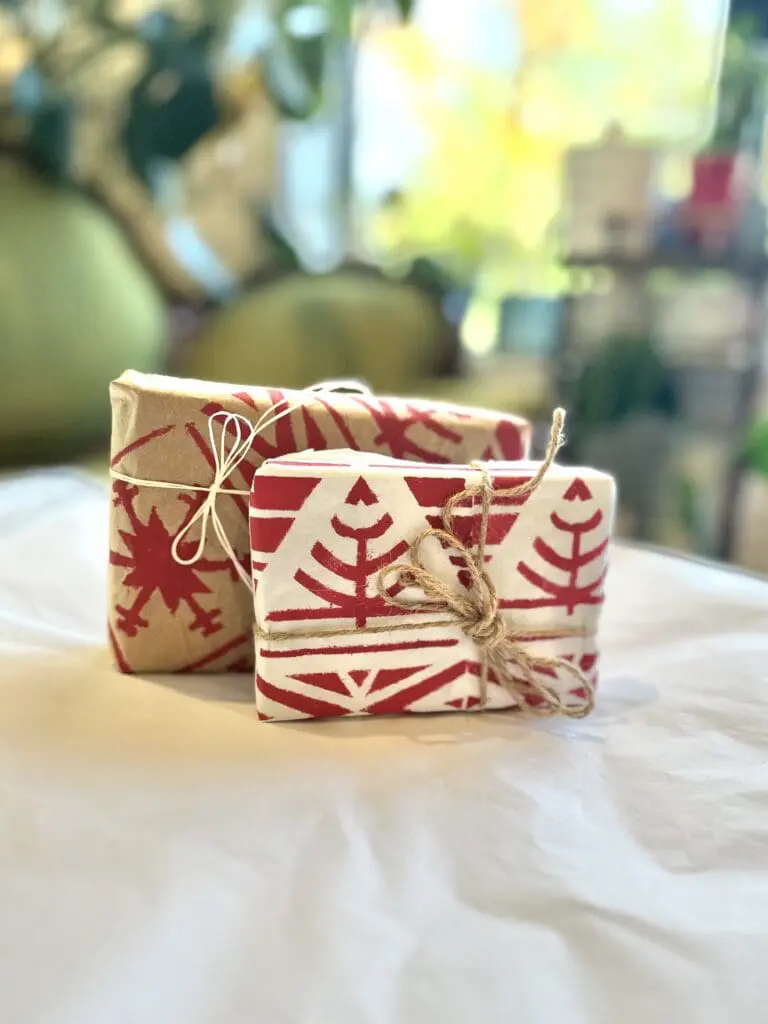
Personalize your wrapping paper
Read our guide and download our free stencil to make your holidays a little more custom!
In Conclusion
Creating your own custom gift box is a delightful way to elevate your gift-giving game while adding a personal touch that recipients will love. By thoughtfully selecting items and presenting them in a beautifully arranged box, you can make even the simplest gifts feel extraordinary. Whether you’re crafting a themed box for a birthday, holiday, or just because, the effort you put into this DIY project will show your loved ones how much you care. So gather your materials, unleash your creativity, and start exploring the possibilities!
Need inspiration? Check out our post on gifting an air plant-themed box!
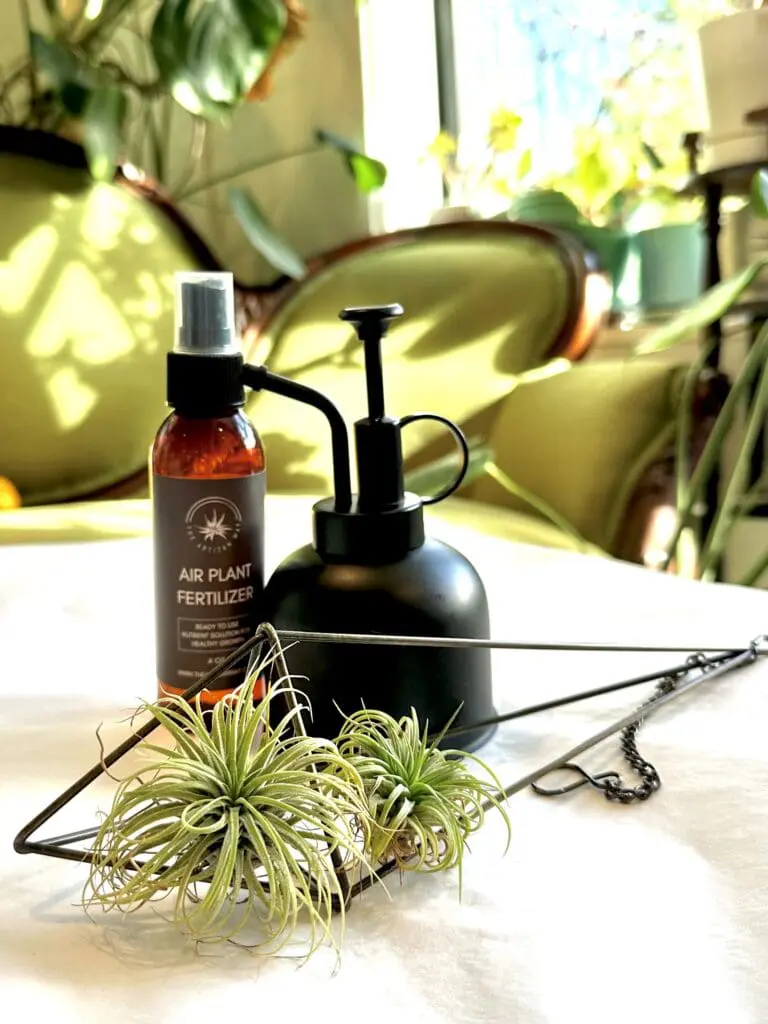
Get inspired to gift
This guide will give you ideas on creating your own air plant gift box